

19 Soft Amish Chocolate Chip Cookies Straight from Oven
Fresh from the oven, soft cookies have a way of making an ordinary moment feel special. If you love tender centers, golden edges, and plenty of chocolate, these Amish chocolate chip cookie ideas are worth saving.
This collection brings together comforting cookie inspiration for anyone craving a homemade treat that stays soft and satisfying. Whether you’re baking for a family gathering, filling the cookie jar, or simply want something sweet with your afternoon coffee, you’ll find ideas that are easy to enjoy and share.
In my experience, the best cookies often come from simple ingredients and small baking details, especially when you want that soft, freshly baked texture. Keep reading for delicious inspiration and practical ideas you can try in your own kitchen.
Table of Contents
Soft Centered Cookies
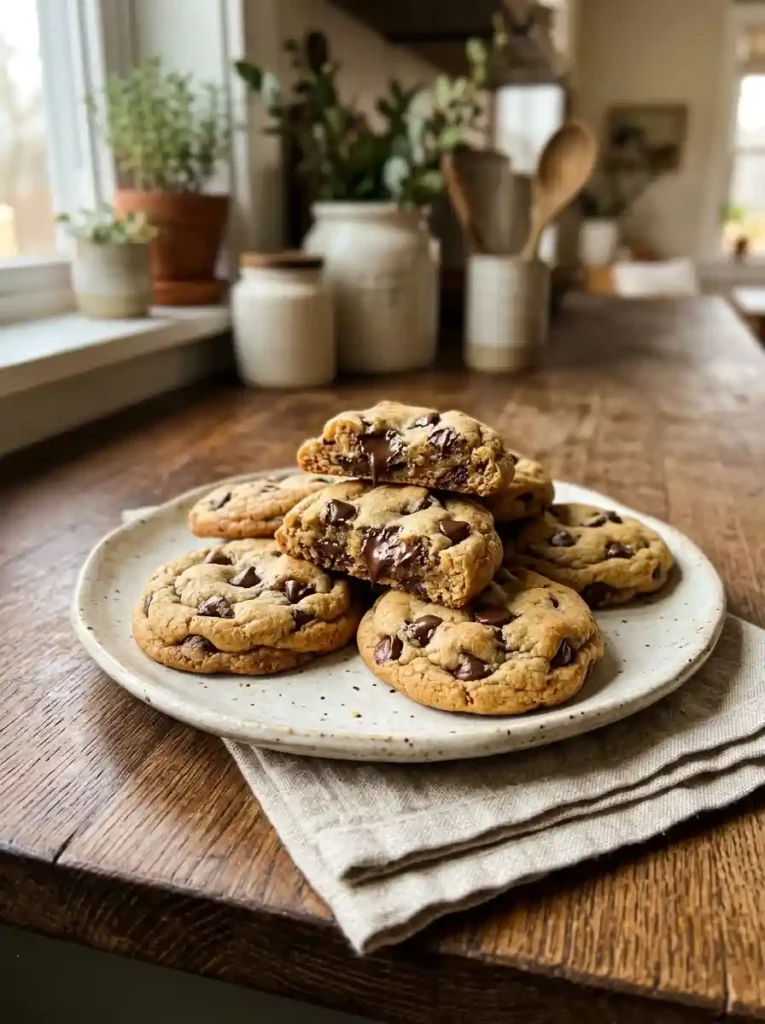
The secret to a soft center starts before the cookies reach the oven. A slightly thicker dough portion helps the middle stay tender while the edges develop a light golden color. For an amish chocolate chip cookie texture, avoid flattening the dough too much before baking.
I’ve noticed that pulling cookies from the oven when the centers still look slightly underdone gives the best texture after cooling. The residual heat continues baking the middle without drying it out. Let them rest on the baking sheet for several minutes before transferring them to a cooling rack for a soft, chewy finish.
Generous Chocolate Chips
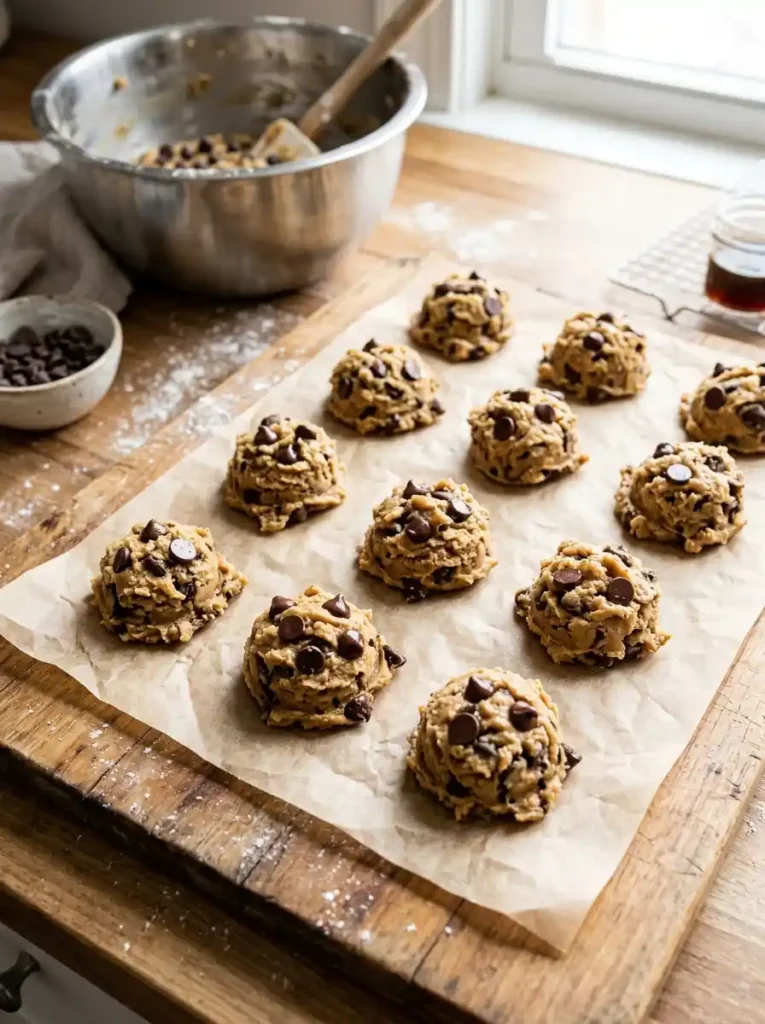
- Choose semi-sweet chips: Their balanced flavor keeps the cookies from becoming overly sugary.
- Fold gently: Mix the chips through the dough just until evenly distributed.
- Reserve a few chips: Press extra pieces onto each dough ball before baking for a bakery-style finish.
- Keep the portions generous: Aim for chocolate in nearly every bite without overwhelming the dough.
- Use consistent sizes: Even portions help the cookies bake at the same rate.
Chocolate distribution matters almost as much as the dough itself. Reserving a small handful for the tops creates glossy chocolate pockets that stand out after baking. For especially rich cookies, combine regular chocolate chips with a few chopped pieces, which melt into irregular pools across the surface.
Fresh From Oven
Quick Tip:
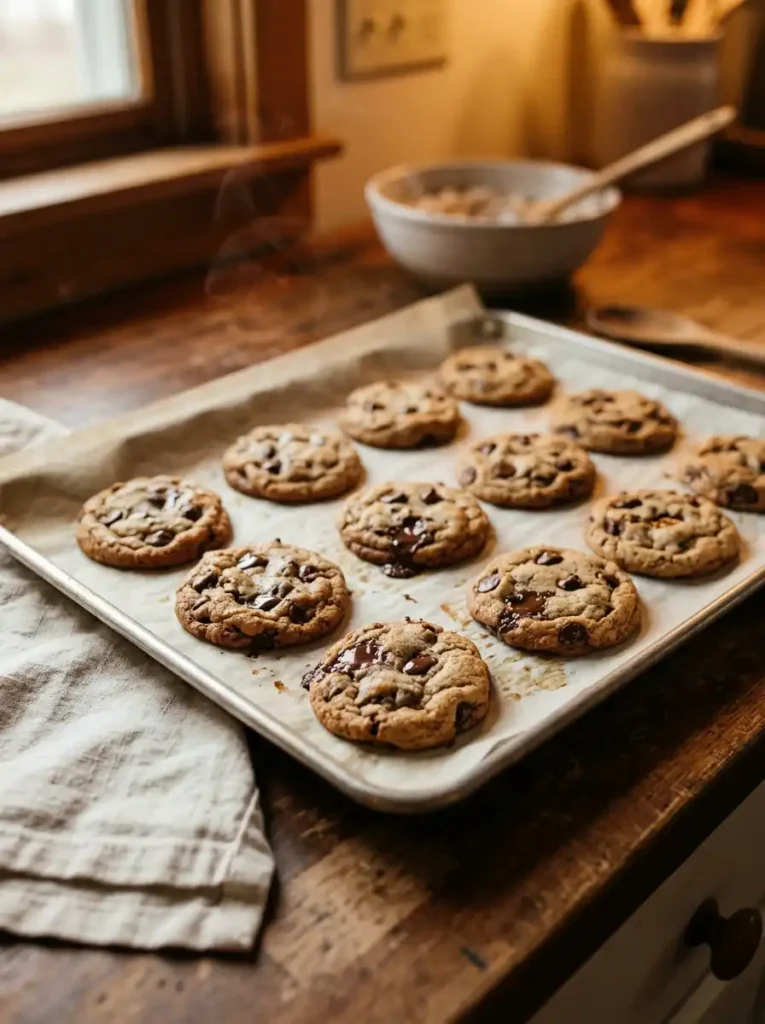
Take the cookies out when the edges are lightly golden but the centers still look soft. Leave them on the hot baking sheet for 4 to 6 minutes before moving them. This short resting period helps the centers finish setting while preserving their tender texture.
Freshly baked cookies are at their most delicate right out of the oven. The centers may seem too soft at first, but they firm as they cool. For a bakery-style appearance, gently press a few extra chocolate chips into the surface while the cookies are still warm, then let them cool undisturbed.
Golden Cookie Edges
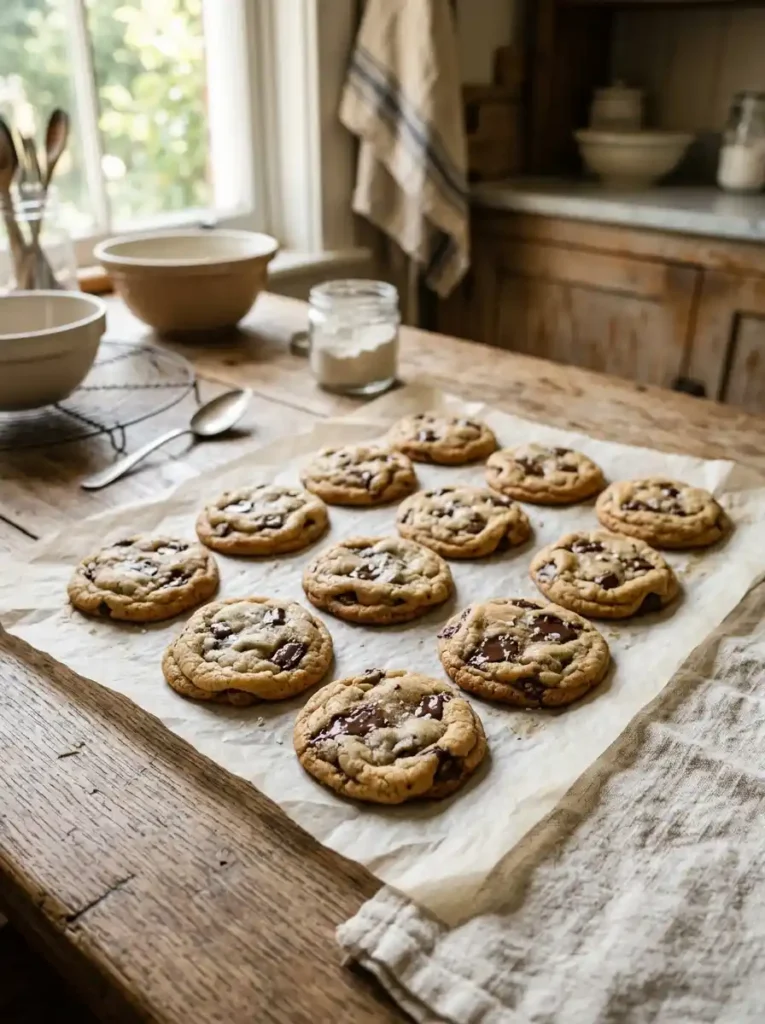
BEFORE: Cookies come out pale with weak structure around the edges. The centers may spread too quickly, leaving thin, uneven rounds that lose their soft texture.
AFTER: Lightly golden edges frame a tender middle while each cookie keeps a rounded shape. The surface has just enough color to signal doneness without becoming dry or crunchy.
Watch the edges rather than waiting for the entire cookie to turn brown. The center should still look slightly lighter and softer when the tray leaves the oven. In my experience, this small timing adjustment gives homemade cookies a much better balance between tender middles and lightly crisp edges.
Even Dough Portions
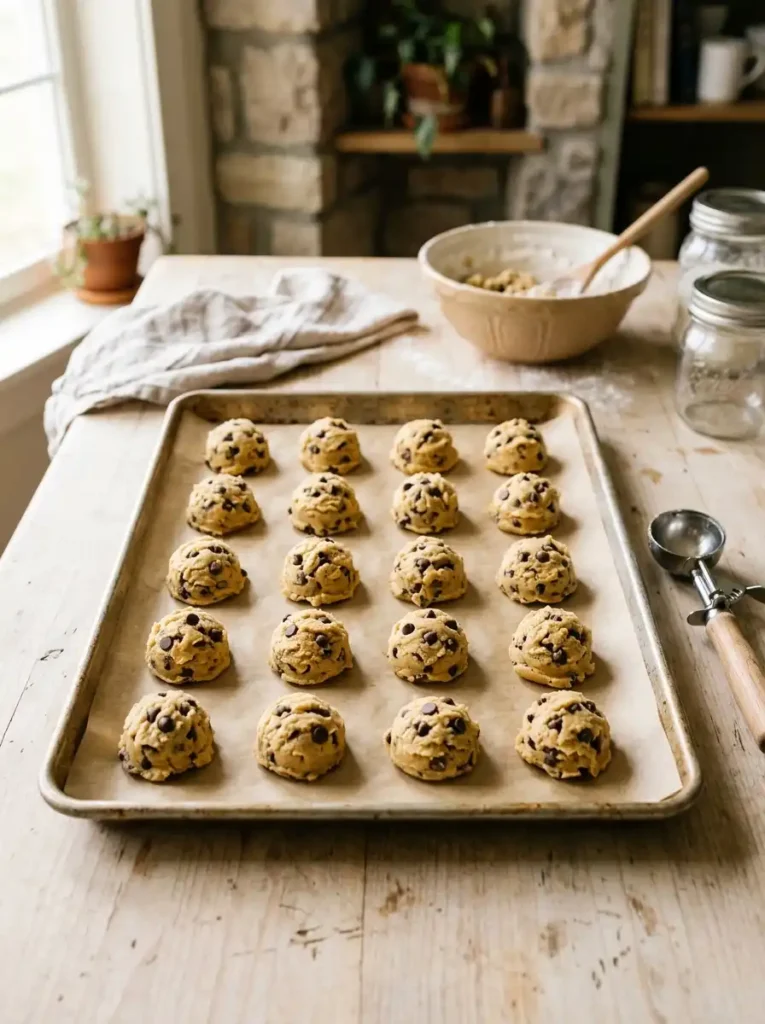
- Scoop evenly: Use a cookie scoop or kitchen scale to make portions similar in size.
- Shape gently: Roll each portion into a loose ball without compacting the dough heavily.
- Leave space: Arrange dough balls with enough room for spreading during baking.
- Bake one test cookie: Check the spread and timing before committing the entire tray.
Consistent portions make the baking process much easier to control. Smaller cookies finish sooner, while larger ones need more time for the centers to set. Keeping every scoop close in size helps the tray bake evenly, so you are less likely to have dry cookies beside underbaked ones.
Parchment Lined Tray
| Comparison | Option A | Option B |
| Tray surface | Bare metal | Parchment lined |
| Cleanup | More scrubbing | Easy to lift and clean |
| Cookie bottoms | Can brown quickly | More gently baked |
| Handling | More sticking risk | Easier removal |
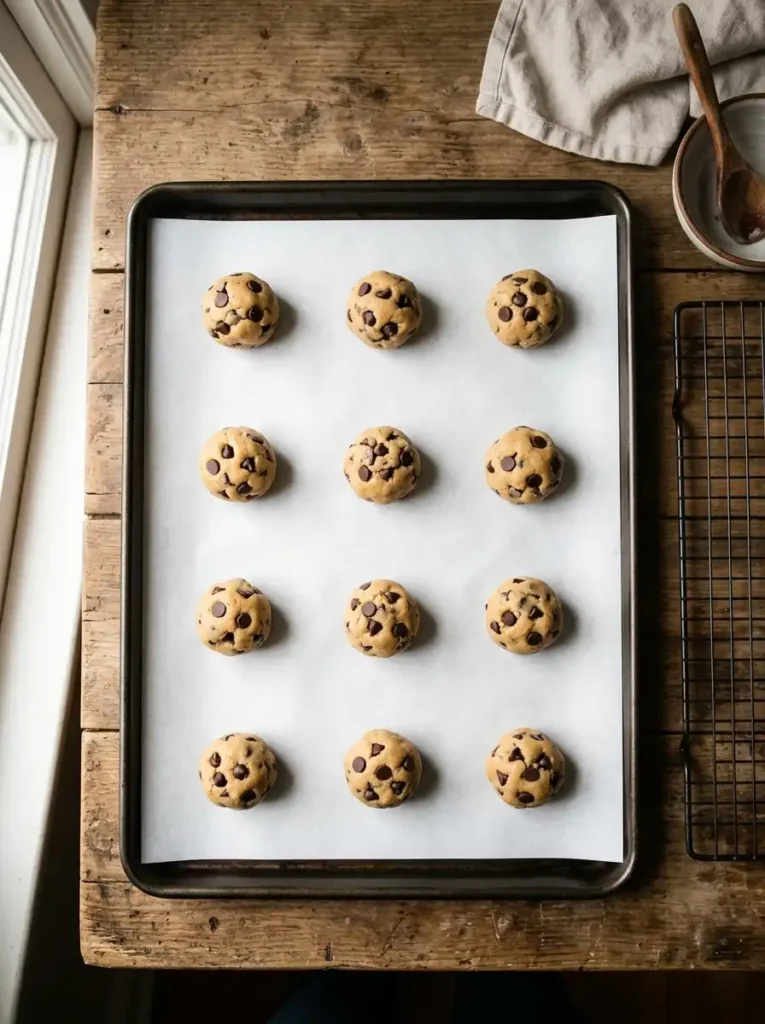
A parchment-lined tray gives the dough a reliable surface while reducing sticking after baking. It also makes transferring delicate cookies easier when their centers are still tender. Keep the parchment flat against the sheet, and avoid stacking extra layers underneath because they can change how quickly the bottoms heat.
Roomy Cookie Spacing
DO:
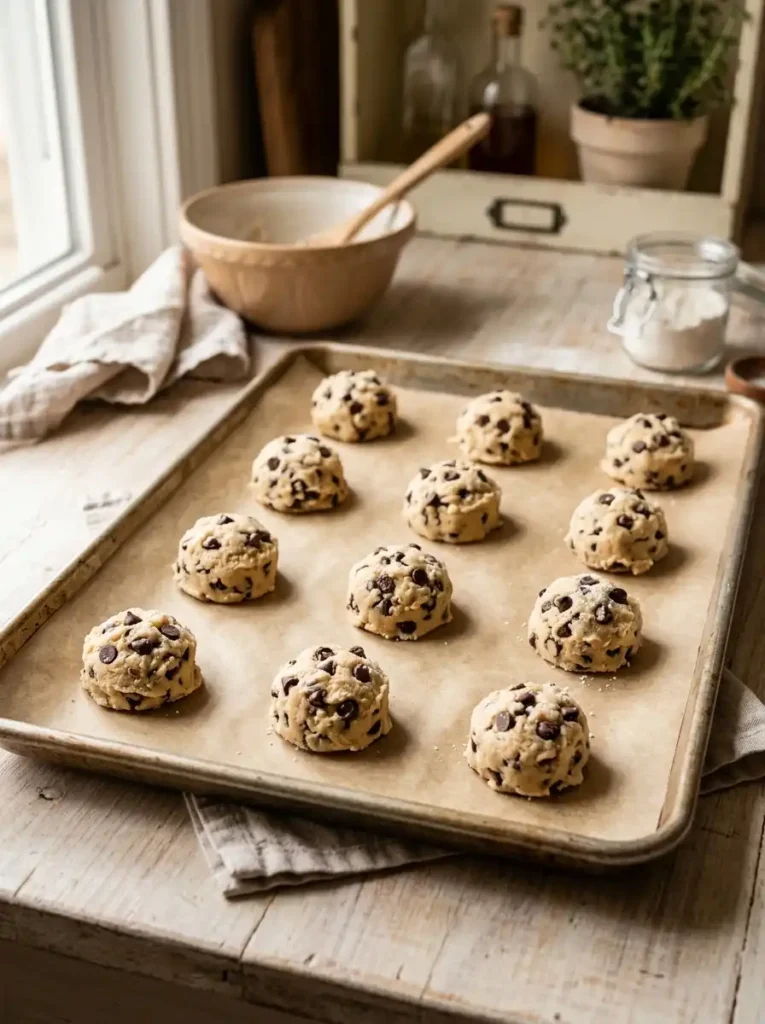
- Leave about 2 inches between dough portions.
- Bake one tray at a time when testing a new recipe.
- Keep portions similar in size for even spreading.
- Center the tray in the oven for balanced heat.
DON’T:
- Crowd the dough balls against each other.
- Place portions directly against the baking sheet edges.
- Flatten every scoop before baking.
- Add a second tray until you know how the cookies spread.
Crowded dough has nowhere to spread, so neighboring cookies can merge into one uneven sheet. Generous spacing lets each portion develop its own rounded shape and golden edge. This simple setup also makes it easier to remove the cookies without breaking their soft centers.
Gentle Dough Mixing
Time: About 10 minutes to mix | Skill Level: Beginner
Texture: Thick and scoopable | Best For: Soft-centered cookies
Key Result: Even chocolate distribution without tough dough
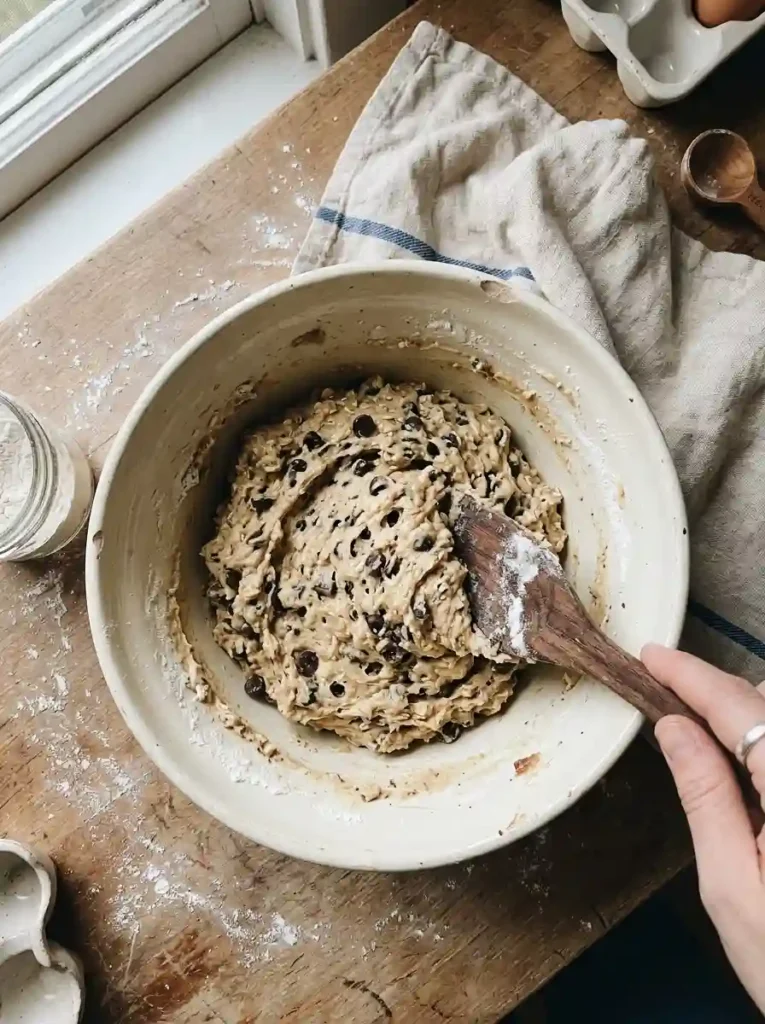
A tender cookie begins with dough that is mixed just enough. Once the flour disappears, stop stirring and fold in the chocolate chips gently. Overmixing can develop too much gluten, which may leave the finished cookies firmer and chewier than intended.
Thick Scoopable Dough
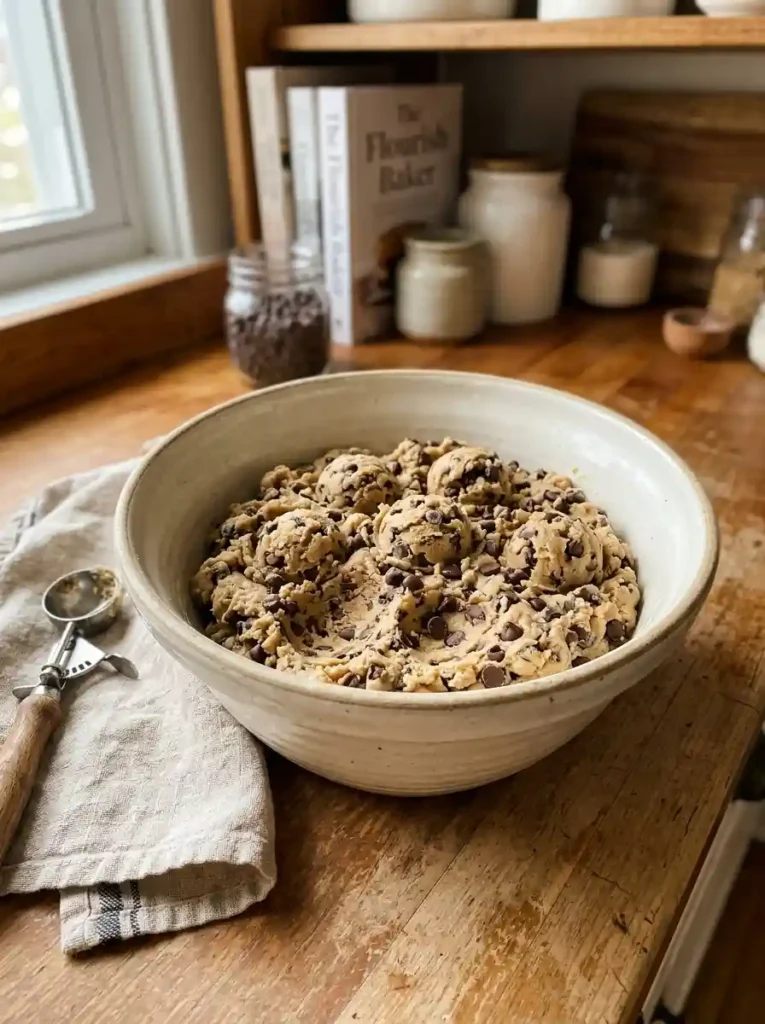
The right dough should hold its shape on the scoop instead of flowing like batter. If it feels unusually loose, give it a short rest before portioning so the flour can hydrate fully. If it feels very stiff, avoid adding extra flour because that can make the baked cookies dense.
For this style of homemade cookie, texture is the best guide. Scoop a small portion and check whether it stays rounded on the tray. When the dough holds together without feeling dry, it is ready for baking and should produce a tender middle with gently browned edges.
Brown Sugar Balance
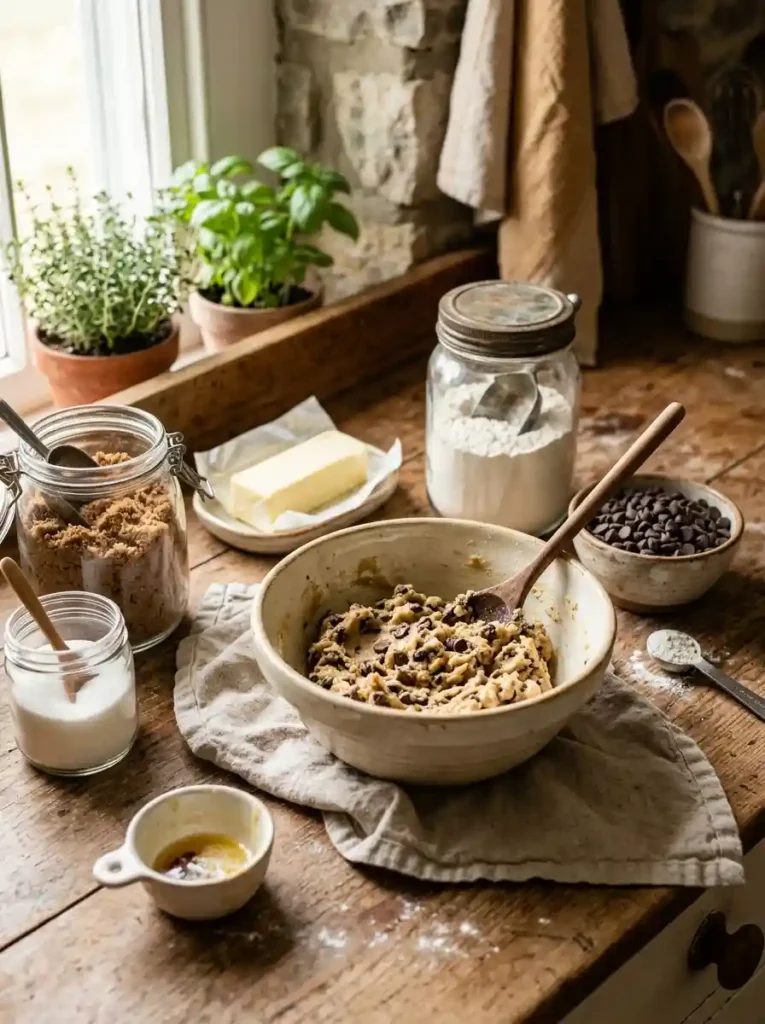
- Brown sugar adds moisture that helps keep the centers tender.
- Granulated sugar encourages lighter browning and gently crisp edges.
- Measure both sugars accurately for predictable texture.
- Pack brown sugar firmly into the measuring cup when the recipe calls for packed sugar.
- Avoid adding extra sugar to compensate for unsweetened chocolate.
Sugar does more than sweeten the dough. The balance between brown and white sugar affects spread, browning, moisture, and texture. For soft chocolate chip cookies, brown sugar is especially useful because its moisture helps the centers stay tender after cooling without making the cookies taste heavy.
Helpful External Resources
If you’re looking for more baking knowledge, these trusted websites are excellent:
- King Arthur Baking – Amazing baking guides and recipes
- Serious Eats – In-depth cooking techniques and tips
Chilled Dough Rest
Quick Tip:
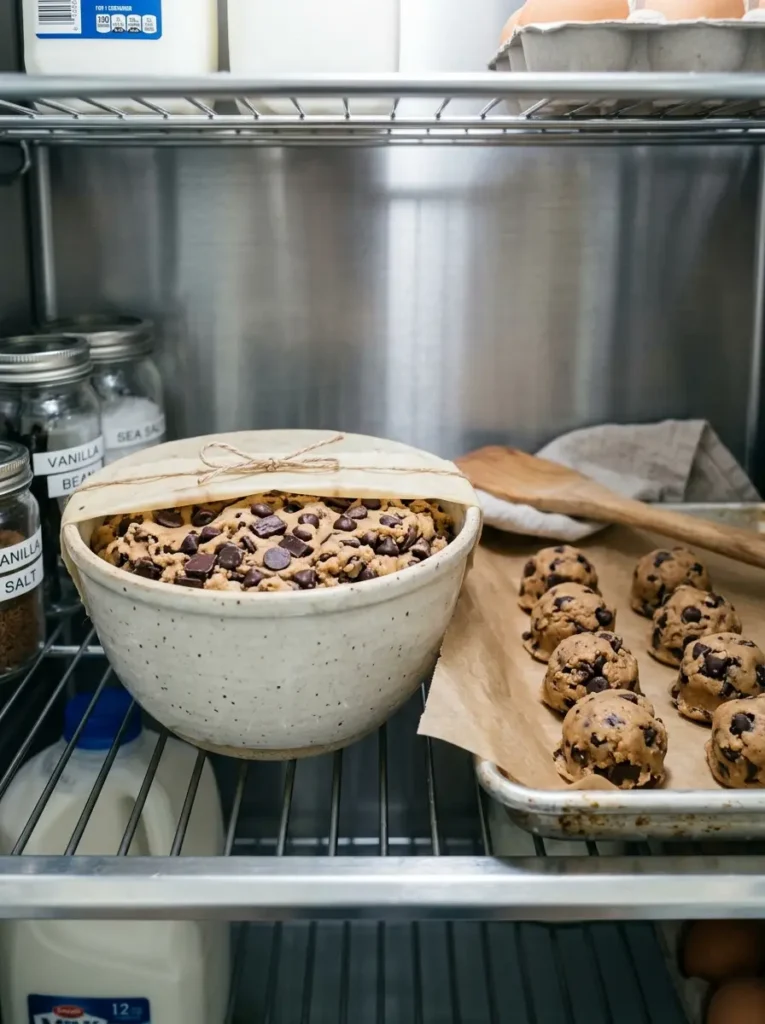
A short chill can help dough become easier to handle and reduce excessive spreading. Cover the bowl tightly so the surface does not dry out. If the dough becomes very firm, let it sit at room temperature for several minutes before scooping.
Resting the dough gives the flour more time to absorb moisture and lets the butter firm up. That can produce thicker cookies with better definition around the edges. I’ve found that chilling is particularly helpful when a warm kitchen makes freshly mixed dough feel unusually soft or sticky.
Butter Temperature
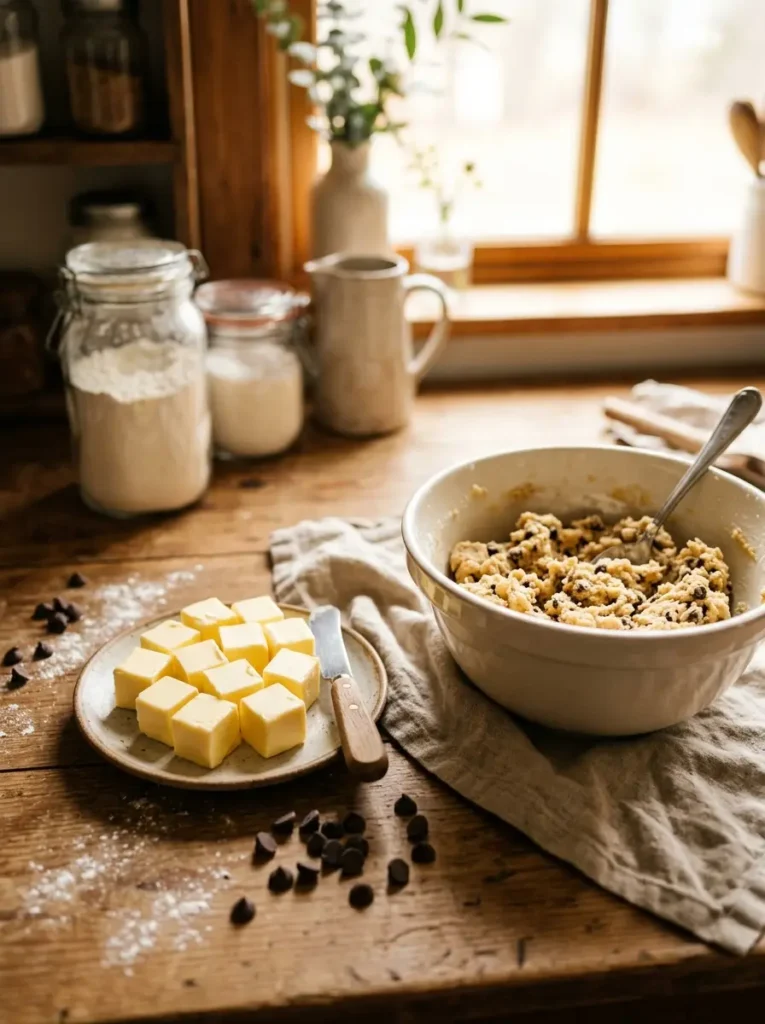
BEFORE: Very cold butter leaves the dough uneven and difficult to combine. Melted or overly warm butter can make the mixture loose, causing cookies to spread rapidly during baking.
AFTER: Softened butter blends smoothly with the sugars and creates a cohesive dough. The finished cookies hold a fuller shape while developing tender centers and lightly browned edges.
Use softened butter rather than butter that has become oily or partially melted. A simple test is pressing it gently with a fingertip; it should yield without collapsing completely. Proper butter texture helps the dough combine evenly and gives the cookies a more predictable spread in the oven.
Vanilla Flavor Boost
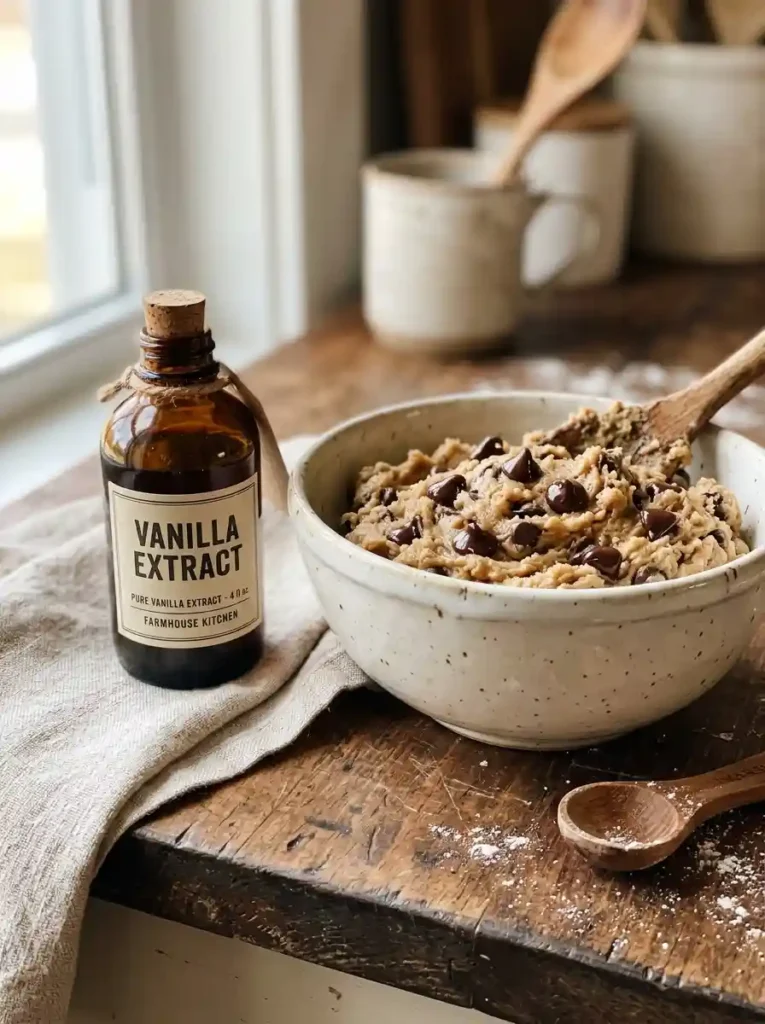
- Measure the vanilla carefully rather than pouring directly from the bottle.
- Add it with the wet ingredients so it distributes evenly through the dough.
- Use pure vanilla extract when available for a clean, rounded flavor.
- Scrape the bowl once after mixing to catch any unmixed dough around the sides.
Vanilla works quietly in the background, making the butter and chocolate flavors taste fuller without becoming the dominant note. A properly measured amount gives the finished cookies a familiar bakery aroma. For a classic Amish-inspired batch, keep the vanilla balanced so the chocolate remains the flavor that stands out.
Classic Chocolate Pairing
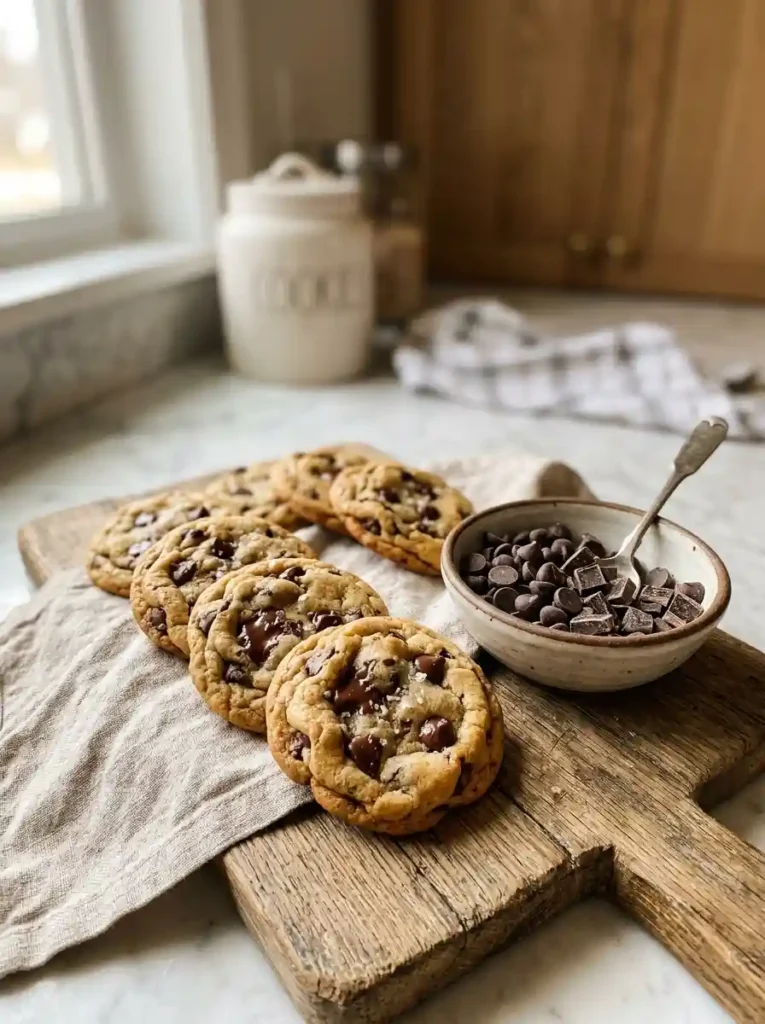
| Comparison | Option A | Option B |
| Chocolate | Semi-sweet chips | Chopped chocolate |
| Appearance | Even chips | Irregular melted pools |
| Texture | Distinct chocolate bites | Softer melted pockets |
| Flavor | Balanced sweetness | Richer chocolate intensity |
Semi-sweet chips are an easy starting point because they give dependable sweetness and shape. Chopped chocolate creates more variation, with some pieces melting into broad pockets. Mixing both can give you recognizable chocolate chips plus soft pools throughout the cookies without changing the basic dough
Cooling Rack Finish
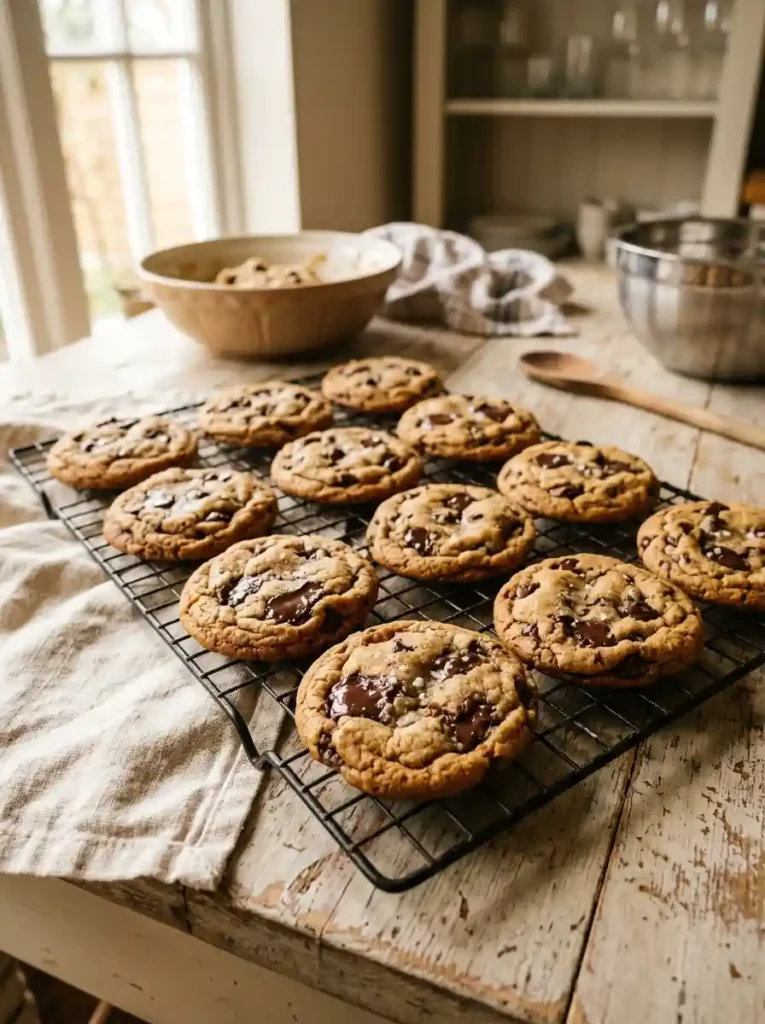
DO:
- Leave cookies on the baking sheet for 4 to 6 minutes first.
- Transfer them gently with a thin spatula.
- Keep cookies in a single layer while cooling.
- Allow the centers to finish setting naturally.
DON’T:
- Move very hot cookies immediately.
- Stack warm cookies together.
- Press down on the soft centers.
- Leave cookies on the hot baking sheet for too long.
Cooling properly protects the texture you worked for in the oven. The wire rack allows air to circulate underneath, preventing the bottoms from becoming overly moist. Once the cookies feel stable but still tender, transfer them to an airtight container or serve them warm with a glass of cold milk.
Warm Cookie Serving
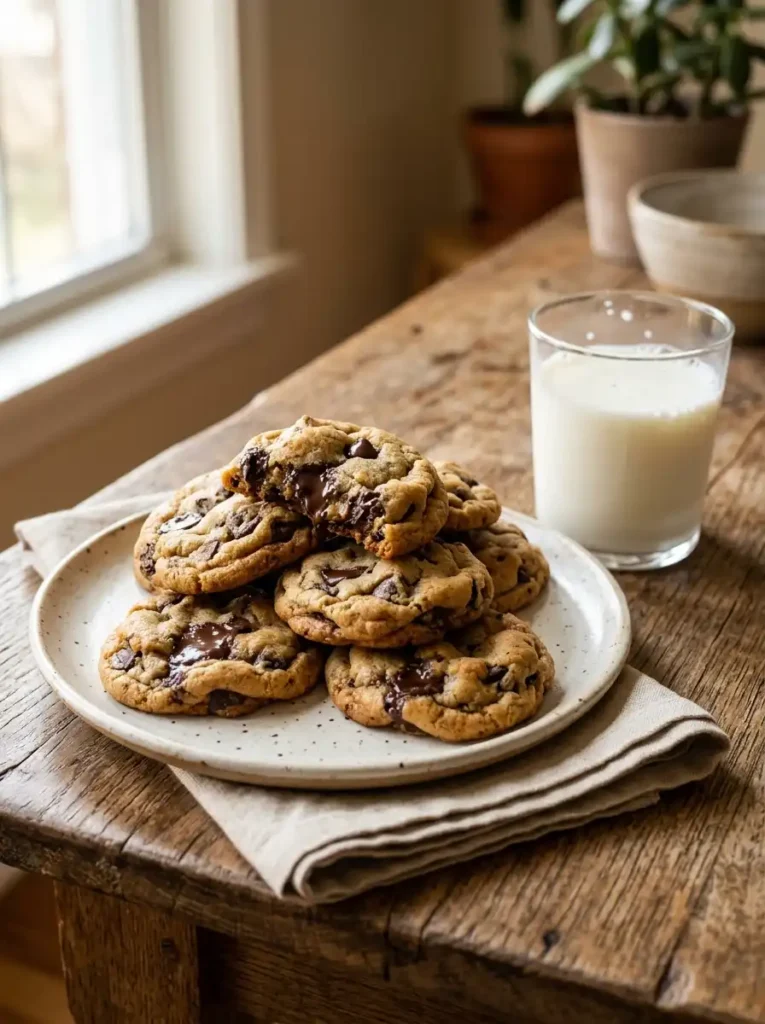
Time: Best served warm | Skill Level: Beginner | Best For: Afternoon snacks
Serving: Plain, with milk, or alongside coffee | Result: Soft centers and glossy melted chocolate
Warm cookies have a softer texture and more pronounced chocolate aroma than fully cooled ones. Let them rest just long enough to hold their shape, then serve a few while the centers remain tender. A simple glass of cold milk balances the sweetness and makes this batch especially inviting for casual snacking.
Milk Dip Pairing
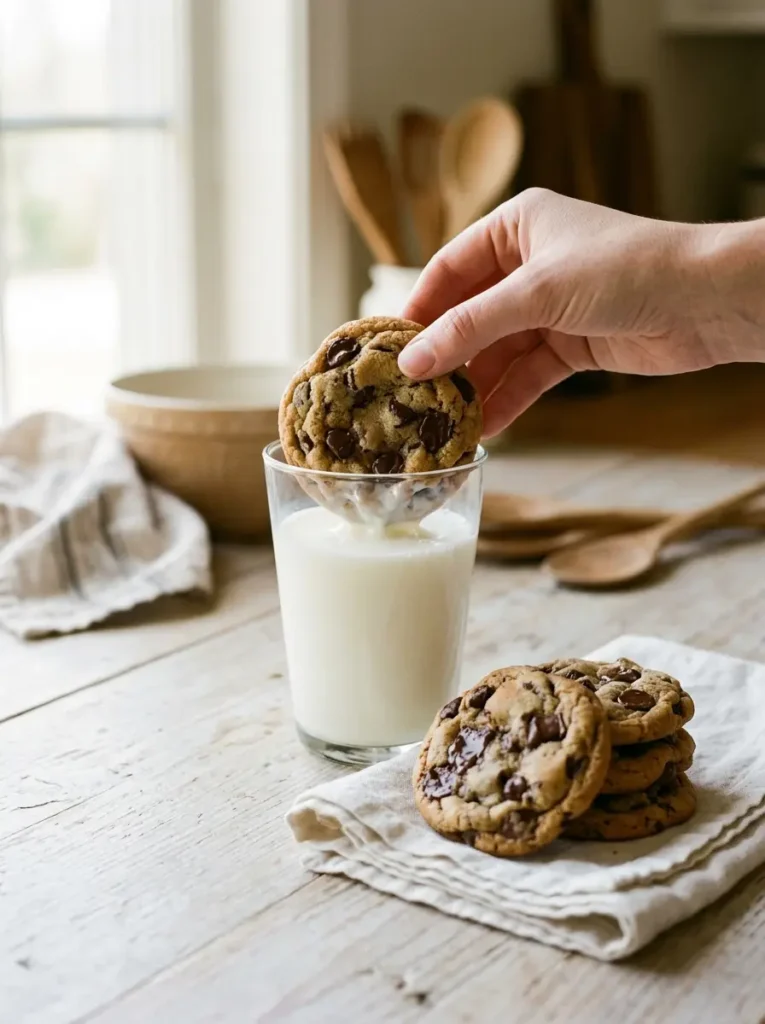
The simplest serving trick may also be the most satisfying: pair a warm cookie with cold milk. The contrast between the tender, chocolate-filled cookie and chilled milk makes each bite feel richer without requiring an elaborate dessert setup.
For a family snack, place the cookies on a low serving plate and keep the milk chilled until serving. Coffee, black tea, or hot cocoa also works well for adults. If the cookies are being served later, warm them briefly before pairing for a softer center.
Storage Container
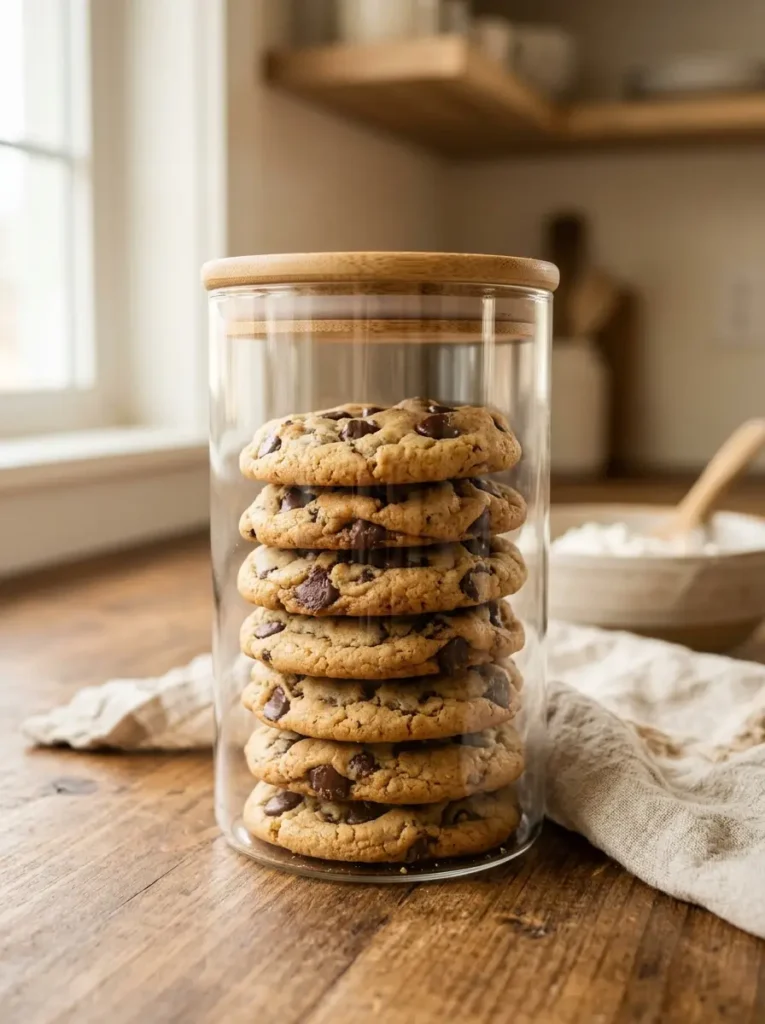
BEFORE: Cookies left uncovered gradually lose their soft texture. Moisture escapes, edges become firmer, and the chocolate loses some of its fresh-baked appeal.
AFTER: A tightly sealed container helps preserve moisture and keeps the cookies tender for longer. Separating layers with parchment also prevents cookies from sticking together.
Cool the cookies completely before sealing them so trapped heat does not create excess condensation. Store them at room temperature in an airtight container and place parchment between layers if you are stacking several cookies. For the freshest texture, keep the container away from direct sunlight and heat sources.
19 Crowd-Pleasing Breakfast Sliders Perfect for Brunch
Freezer Cookie Portions
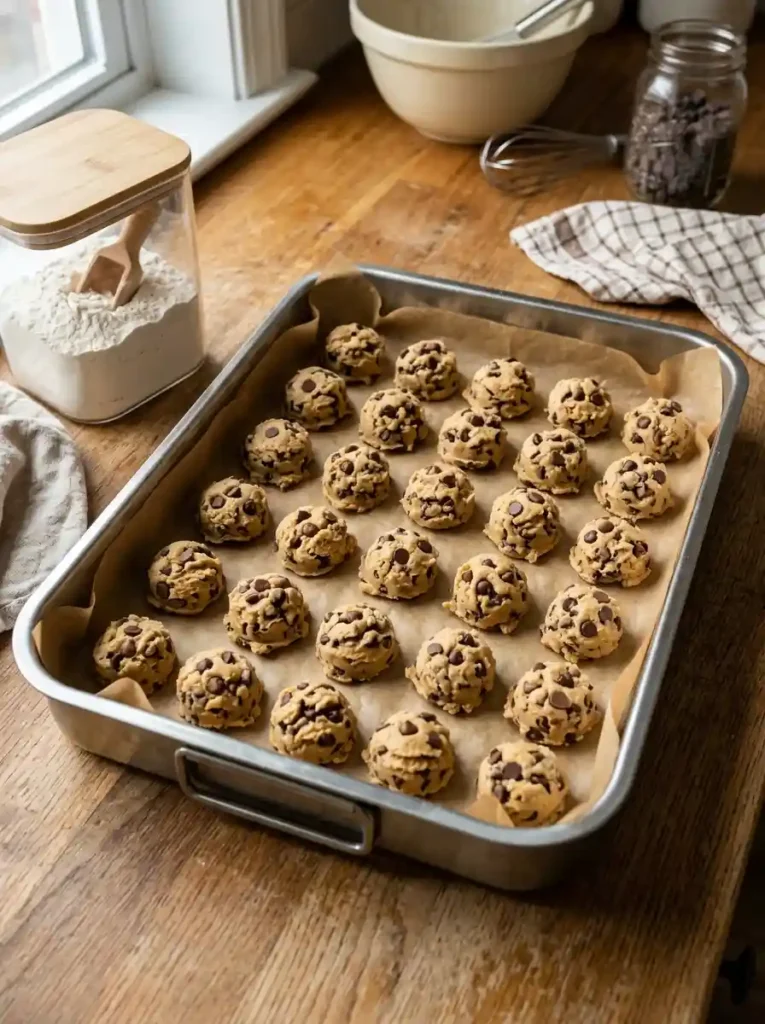
DO:
- Portion the dough before freezing for easy future baking.
- Freeze dough balls in a single layer first.
- Transfer firm portions to a labeled freezer bag or container.
- Bake directly from frozen when convenient, adding a little baking time.
DON’T:
- Freeze a large unportioned block if you want individual cookies.
- Leave dough uncovered in the freezer.
- Pack soft dough balls tightly together.
- Forget to label the storage date.
Freezing individual portions turns one baking session into several smaller treats. Scoop the dough, freeze the portions until firm, then store them together in an airtight container. This approach works especially well for unexpected guests because you can bake only the number of cookies needed instead of preparing another full batch.
CONCLUSION
Soft, homemade cookies are one of those simple treats that can turn an everyday day into something memorable. These Amish chocolate chip cookie ideas offer plenty of inspiration for creating tender, chocolate-filled bites that are perfect for sharing or keeping in the cookie jar. I’ve noticed that small details, from careful mixing to baking just until the edges turn golden, can make a big difference in the final texture. Save this post to Pinterest so you can return to these ideas whenever a cookie craving strikes. Try your favorite, share the article with another cookie lover, and enjoy every warm, delicious bite.





3 Comments