Easy Sourdough Bread Recipe for Beginners (No Knead, Dutch Oven Optional)
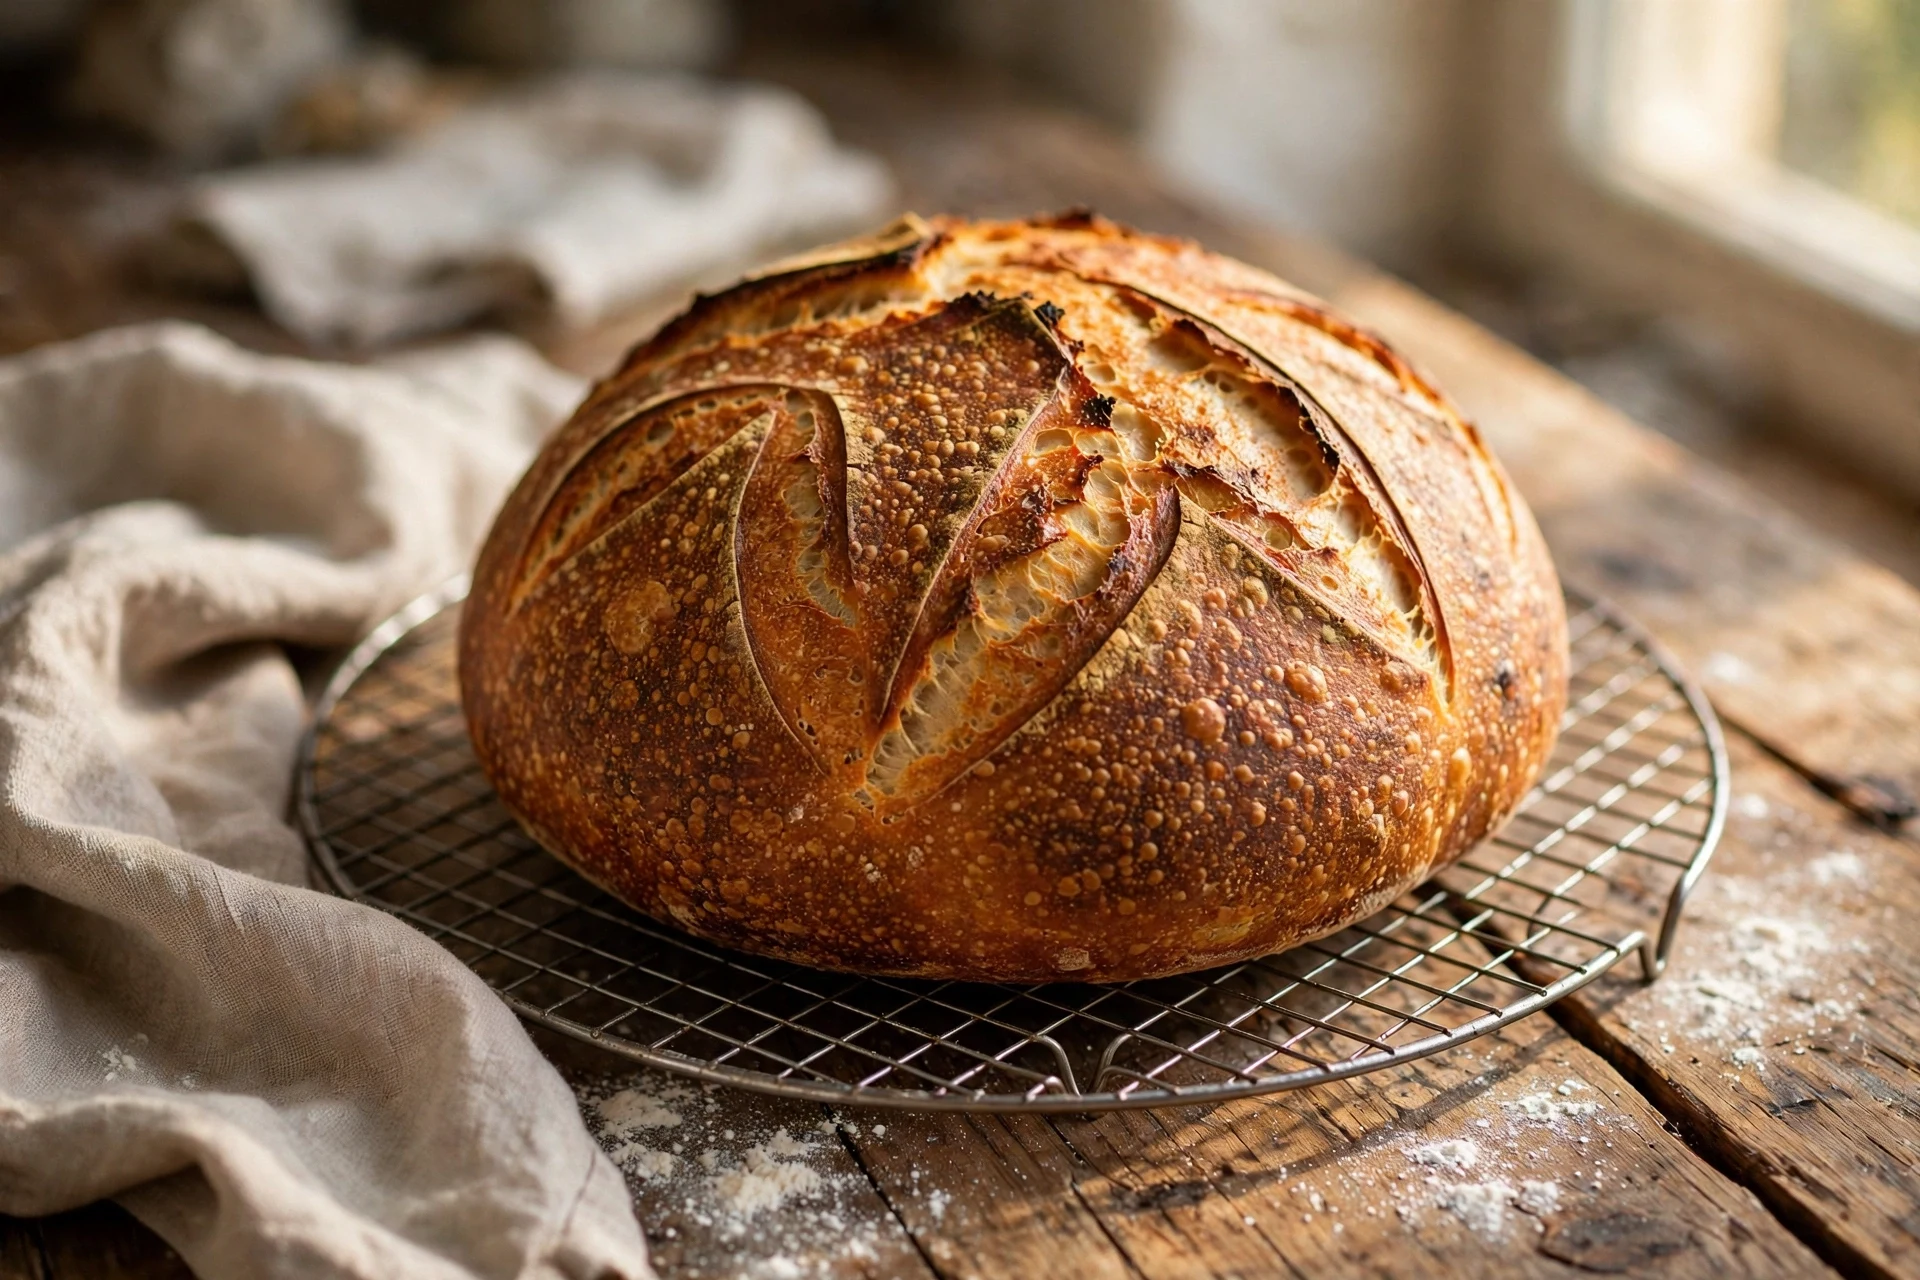
Yes, you can make real sourdough bread at home — and this sourdough bread recipe keeps it simple. You need just four ingredients: 500 grams of bread flour, 350 grams of water, 100 grams of active starter, and 10 grams of salt. There is no kneading, no stand mixer, and no commercial yeast. The whole process takes about two days, but almost all of that time is waiting. Your hands-on time is about 25 minutes, spread across a few short steps.
If you have never baked sourdough before, the long timeline is the part that puts most people off. It looks hard because the recipes online are full of terms like autolyse, bulk fermentation, and hydration. Each step is written in plain words, with exact times and clear signs to look for.
What Is Sourdough Bread?
Sourdough bread is bread raised by a live starter instead of store-bought yeast. A starter is a jar of flour and water that you feed every day. Over time, wild yeast and friendly bacteria move in and turn it into a bubbly culture that can lift a whole loaf. That slow, living ferment is what gives sourdough its light tang and its chewy crumb.
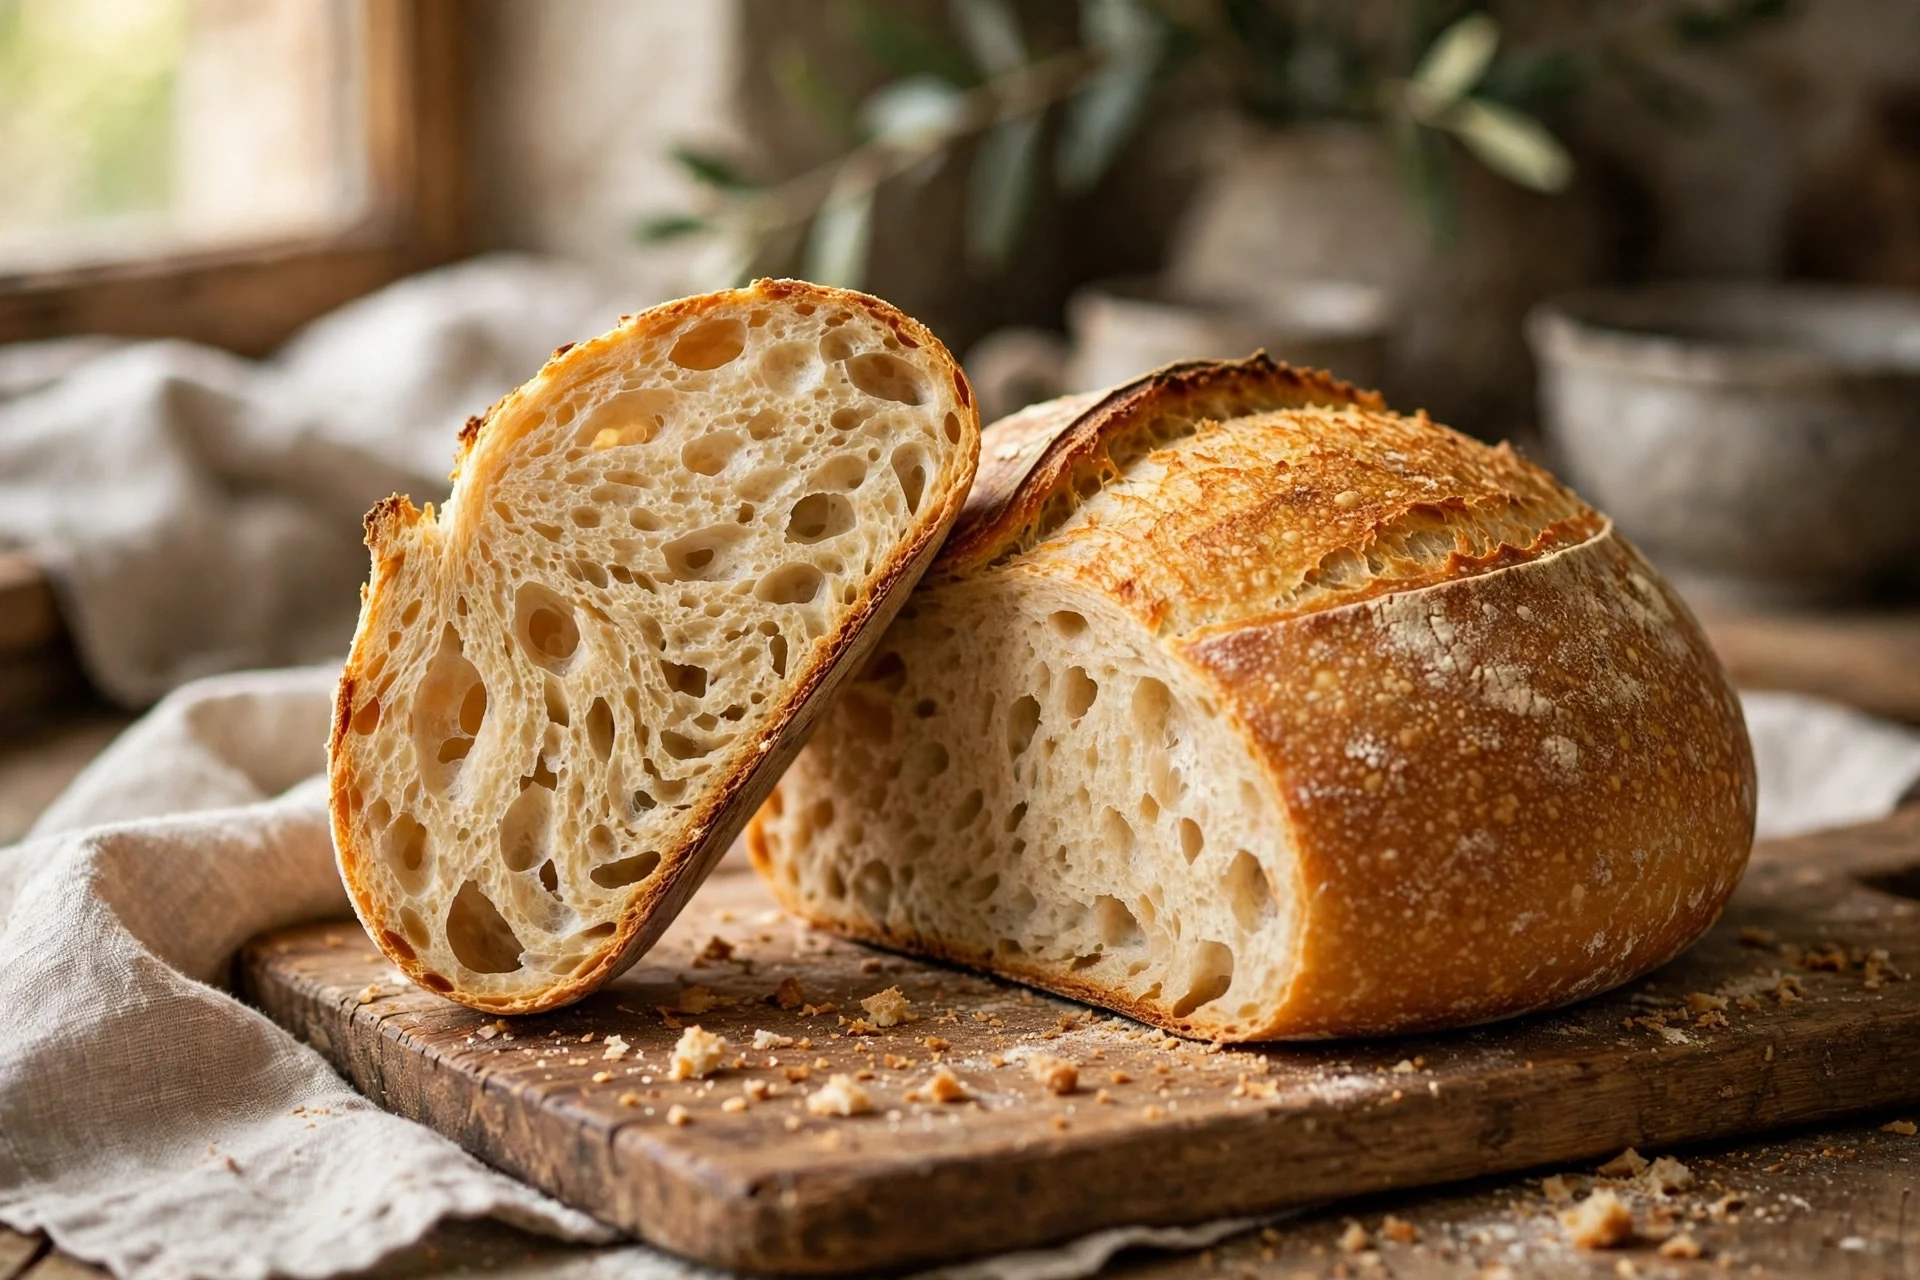
Compared with a quick yeast loaf, sourdough takes much longer — and that time is the point. The long rise builds flavor that a fast loaf never gets, and it gives the crust time to bake up dark and crisp. A good loaf has a crunchy outside, a soft inside full of holes, and a mild sour note.
If you have a starter already, you are ready to start. If you do not have one yet, you will need to make or buy one first — a new starter takes about a week of daily feeding before it is strong enough to raise bread. For a clear look at how a starter works, King Arthur Baking’s sourdough guide explains it in plain language.
Sourdough Bread Recipe at a Glance
Here is the whole recipe in one place. Read it once before you start so the timing makes sense, then follow the steps below.
| Hands-on time | About 25 minutes |
| Bulk fermentation | 3 to 8 hours (depends on kitchen temperature) |
| Cold proof | 12 to 14 hours, overnight in the fridge |
| Bake | 50 to 55 minutes at 450°F (230°C) |
| Total time | About 2 days, mostly waiting |
| Yield | 1 round loaf, about 900 grams (2 pounds) |
| Skill level | Beginner |
The wide range on bulk fermentation is normal. A warm kitchen moves fast and a cool kitchen moves slow. This sourdough bread recipe is built for a beginner’s kitchen, so every time below comes with a sign to look for, not just a number on the clock.
Ingredients for This Sourdough Bread Recipe
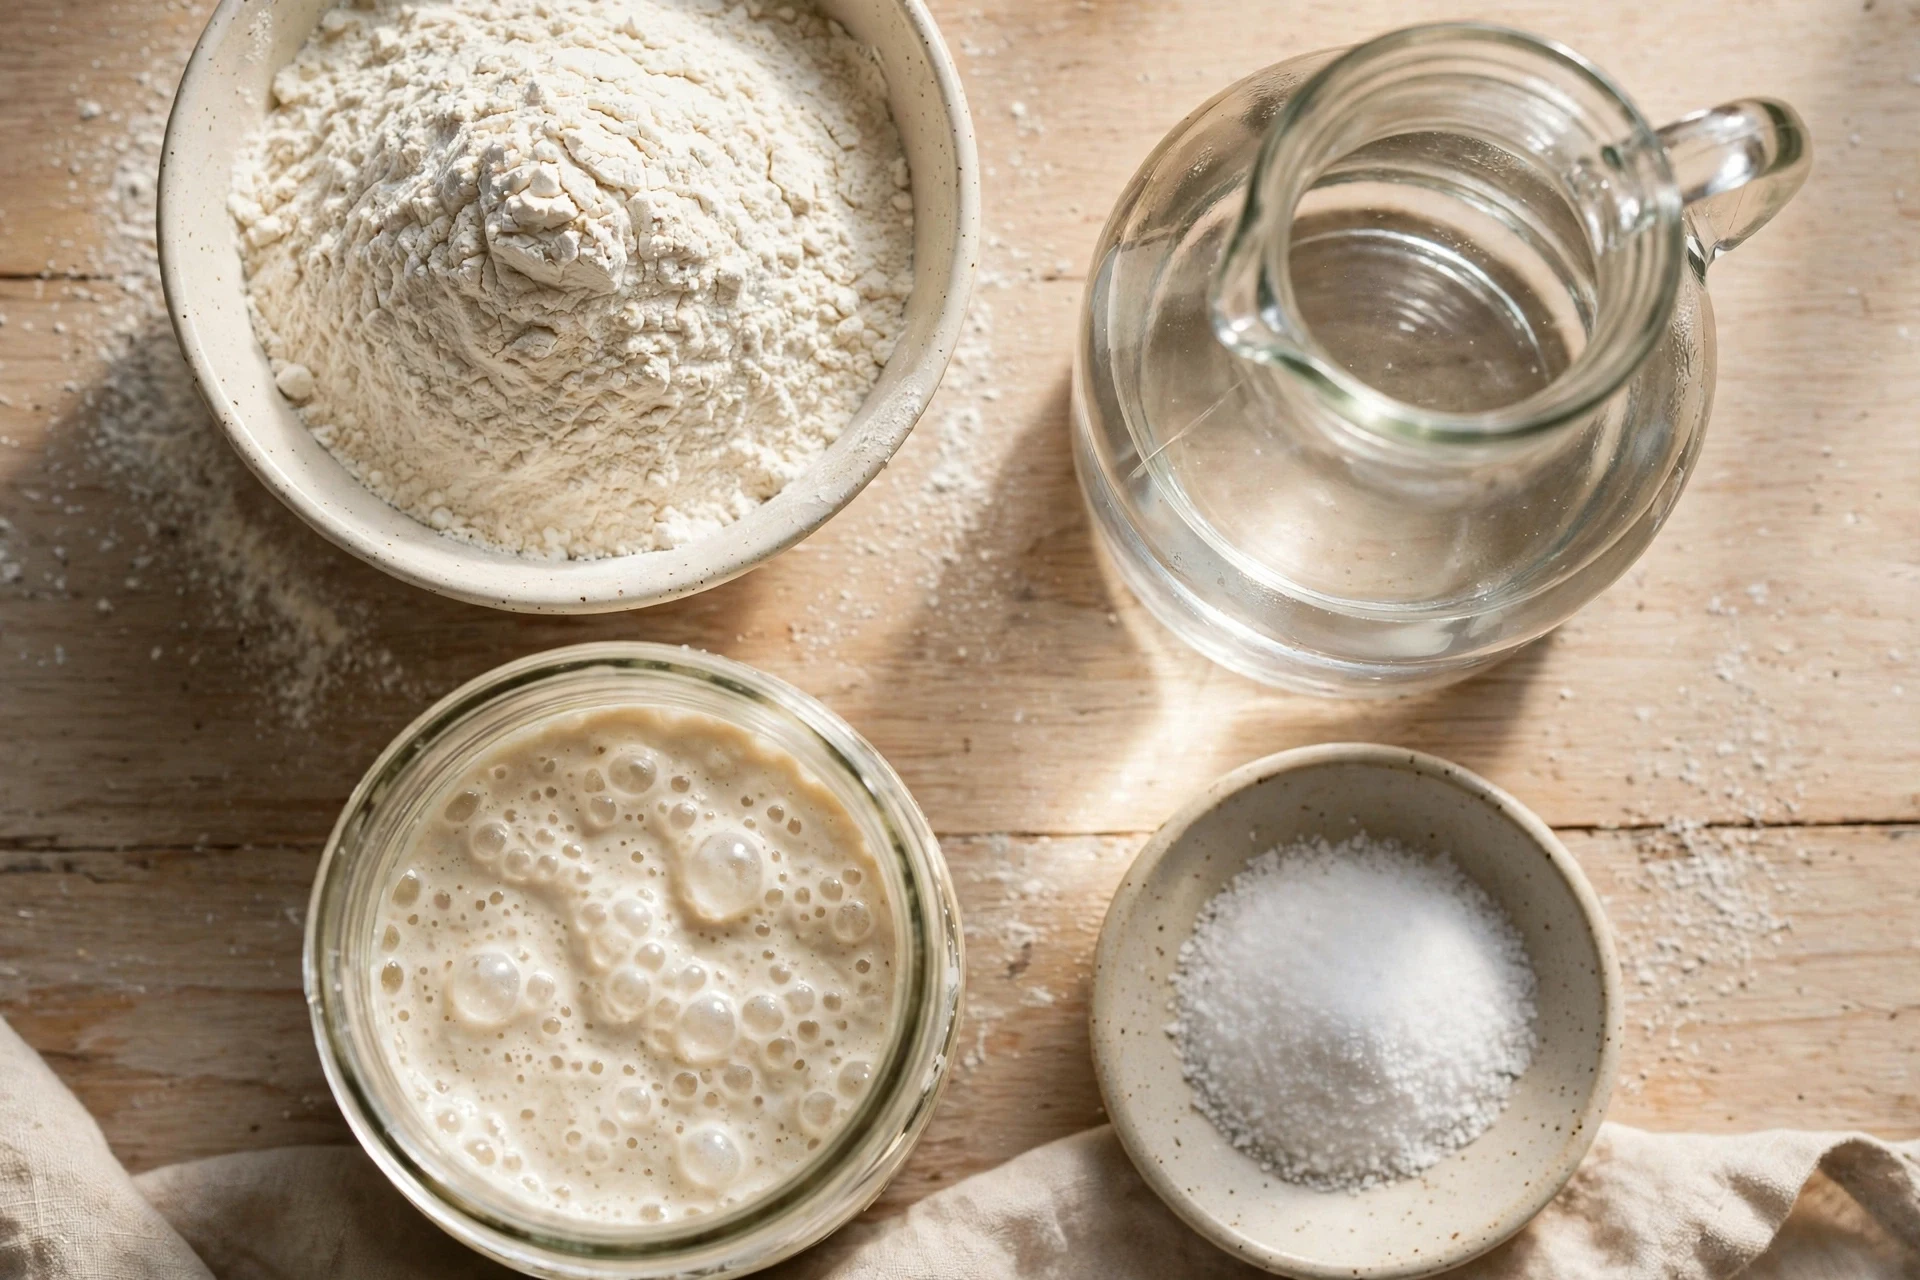
Four things. That is all this sourdough bread recipe needs. Weigh everything on a kitchen scale — cups are listed too, but weights are far more reliable because a cup of flour can weigh very different amounts depending on how it is scooped.
| Ingredient | Grams | Cups (approx.) |
|---|---|---|
| Bread flour | 500 g | About 4 cups |
| Water (room temperature, filtered if you can) | 350 g | About 1½ cups |
| Active sourdough starter | 100 g | About ½ cup |
| Fine salt | 10 g | About 2 teaspoons |
Bread flour matters here. It has more protein than all-purpose flour, and that protein builds the strong gluten net that holds the air bubbles in place. All-purpose flour will still work, but the loaf will be a little flatter and the crumb a little tighter. Hold the salt back until after the first rest — salt slows fermentation, and you want the flour to hydrate fully first.
In baker’s math, the flour is always 100%. That makes this recipe 70% water, 20% starter, and 2% salt. To bake two loaves, just double every number. The flour for one loaf costs about $1 to $2, while a bakery loaf of the same size sells for $8 to $12.
Is Your Starter Ready? The Float Test and 3 Signs
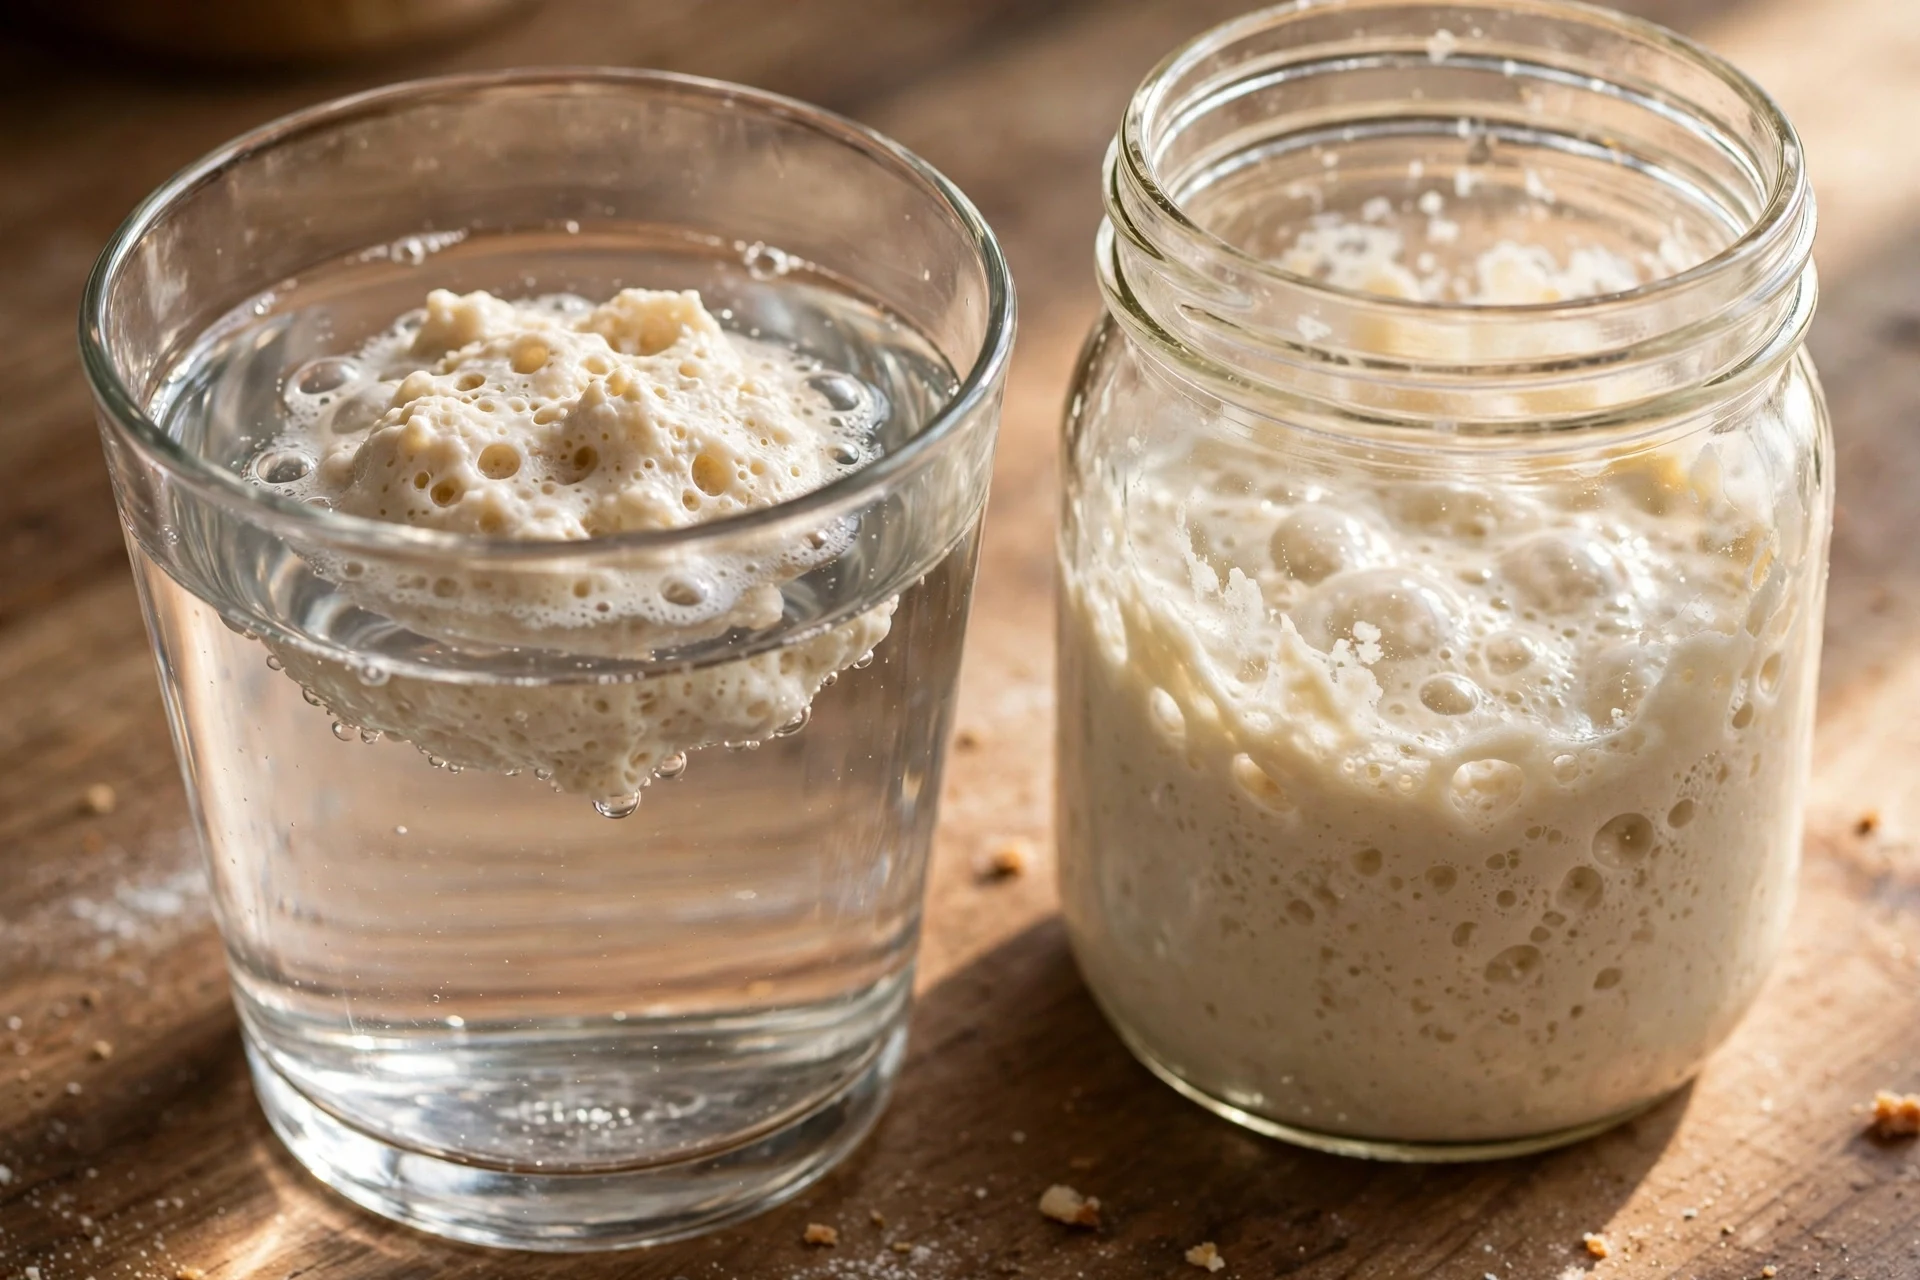
A sleepy starter is the most common reason a first loaf fails. Your starter must be active — fed, bubbly, and at its peak — when it goes into the dough. Feed it 4 to 8 hours before you plan to mix, and keep it somewhere warm, around 75°F (24°C), while it rises.
The float test is the quickest check. Drop a small spoonful of starter into a glass of room-temperature water. If it floats, it is full of gas and ready to bake with. If it sinks, it needs more time — feed it again and check in an hour or two.
Three more signs to look for:
- It has doubled in size since feeding, usually in 4 to 8 hours.
- The surface is covered in bubbles, big and small.
- It smells pleasantly sour and yeasty, like yogurt, not like nail polish remover.
If your starter fails the test, do not throw it away. Feed it with equal weights of flour and water, keep it warm, and try again in a few hours. A brand-new starter often needs a full week of daily feeding before it can lift a loaf, so give it time.
Equipment You Need (and What You Can Skip)
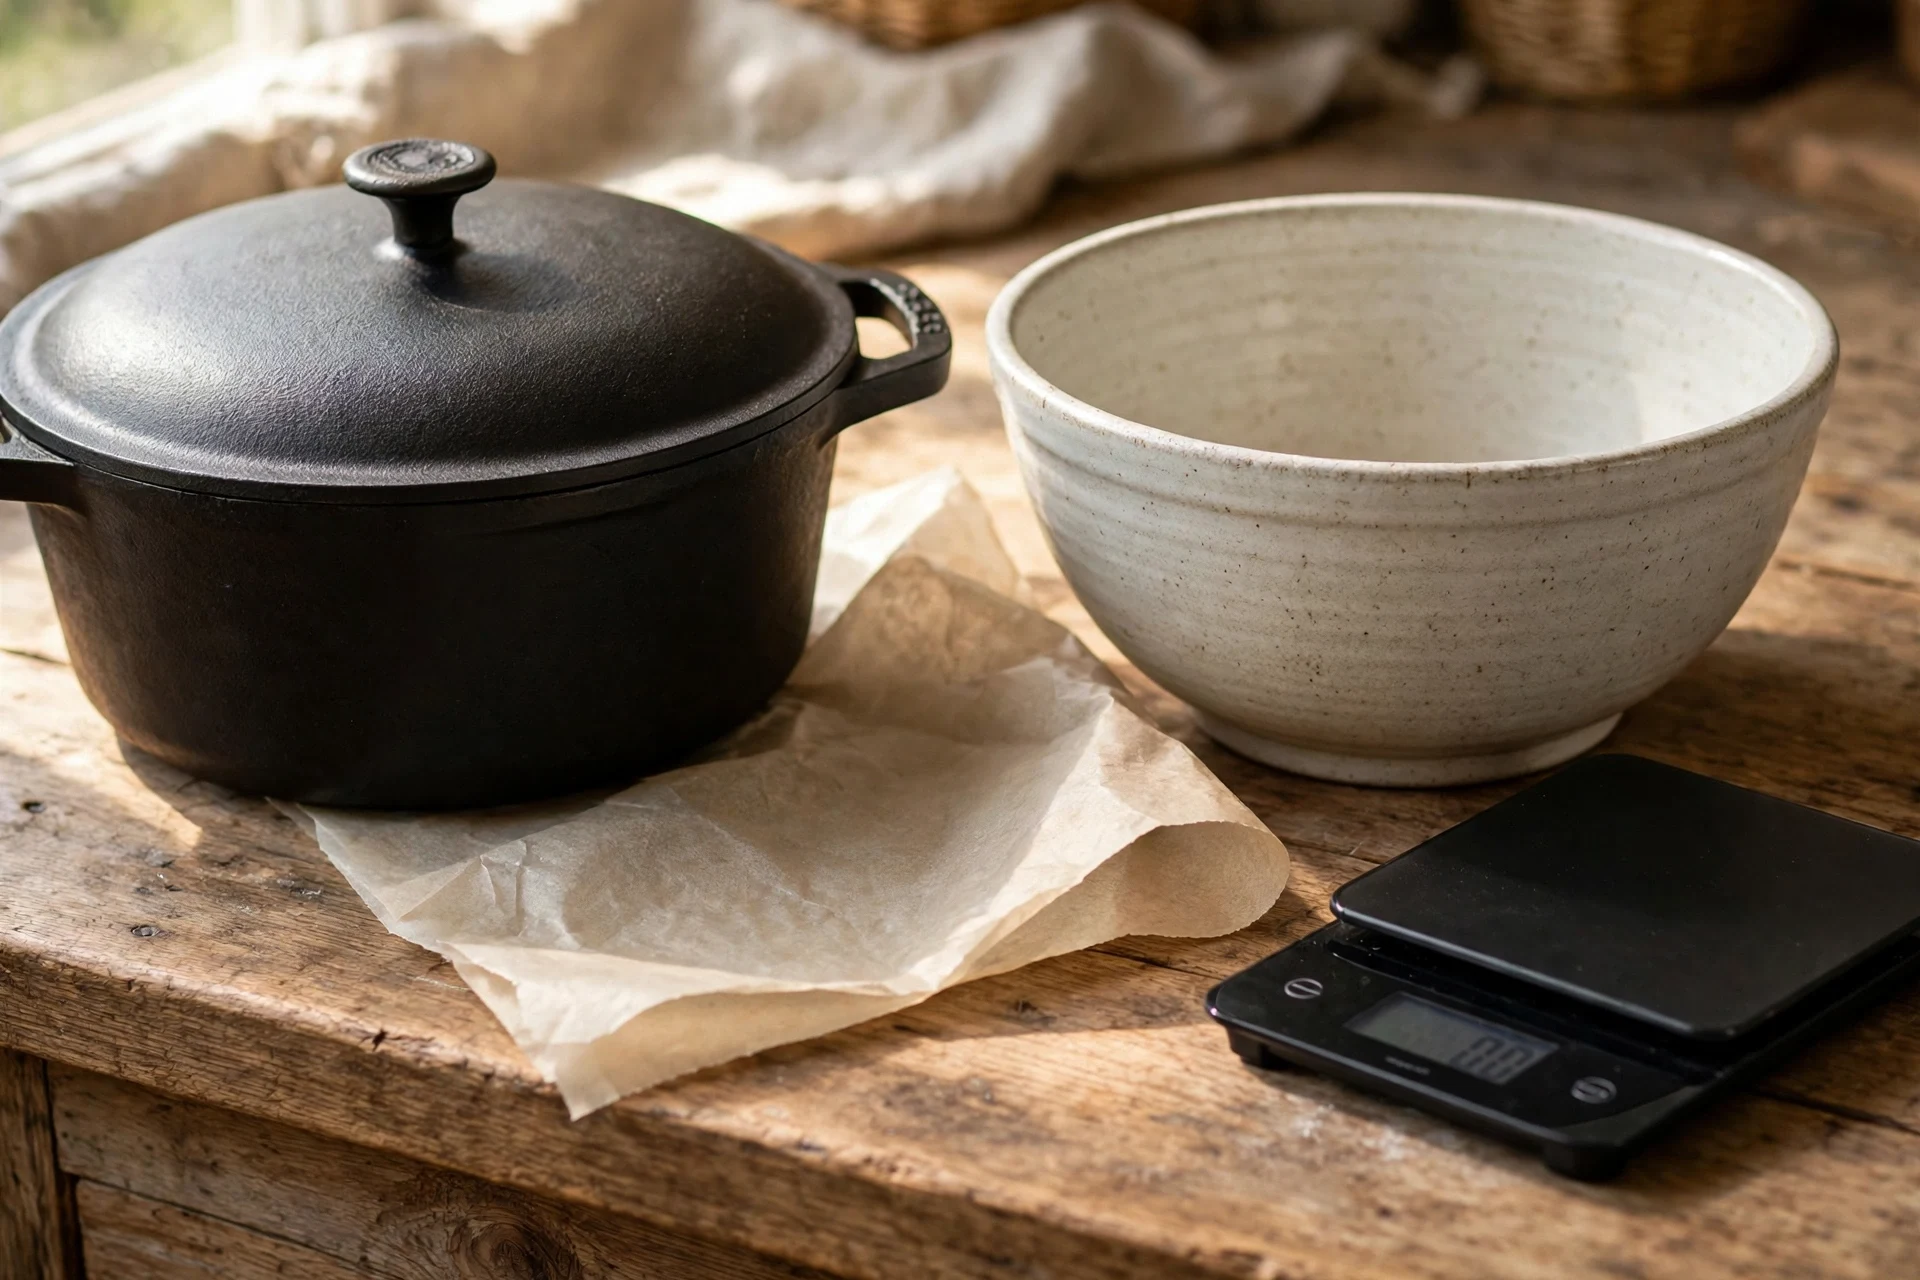
You do not need much. A kitchen scale is the one thing worth buying if you do not own one — sourdough is a recipe where weights beat cups every time. You also need a large bowl, a tea towel, parchment paper, a sharp knife or razor blade, and a wire rack.
A Dutch oven gives the best result because it traps steam around the loaf and bakes up a thick, dark crust. But it is not required. A loaf tin works well and gives a neat sandwich shape. A baking sheet works too — put a metal tray of hot water on the rack below so the oven stays steamy for the first half of the bake.
For the final proof, a proofing basket (banneton) is nice but not needed. A mixing bowl lined with a floured tea towel does the same job. Skip the stand mixer, the bread lame, and the special flour — none of them change the result on your first loaf.
How to Make Sourdough Bread: Step-by-Step
This is the whole sourdough bread recipe, start to finish. Work through it in order and check the signs at each step instead of watching the clock alone — dough moves at its own pace.
Step 1: Mix and Autolyse
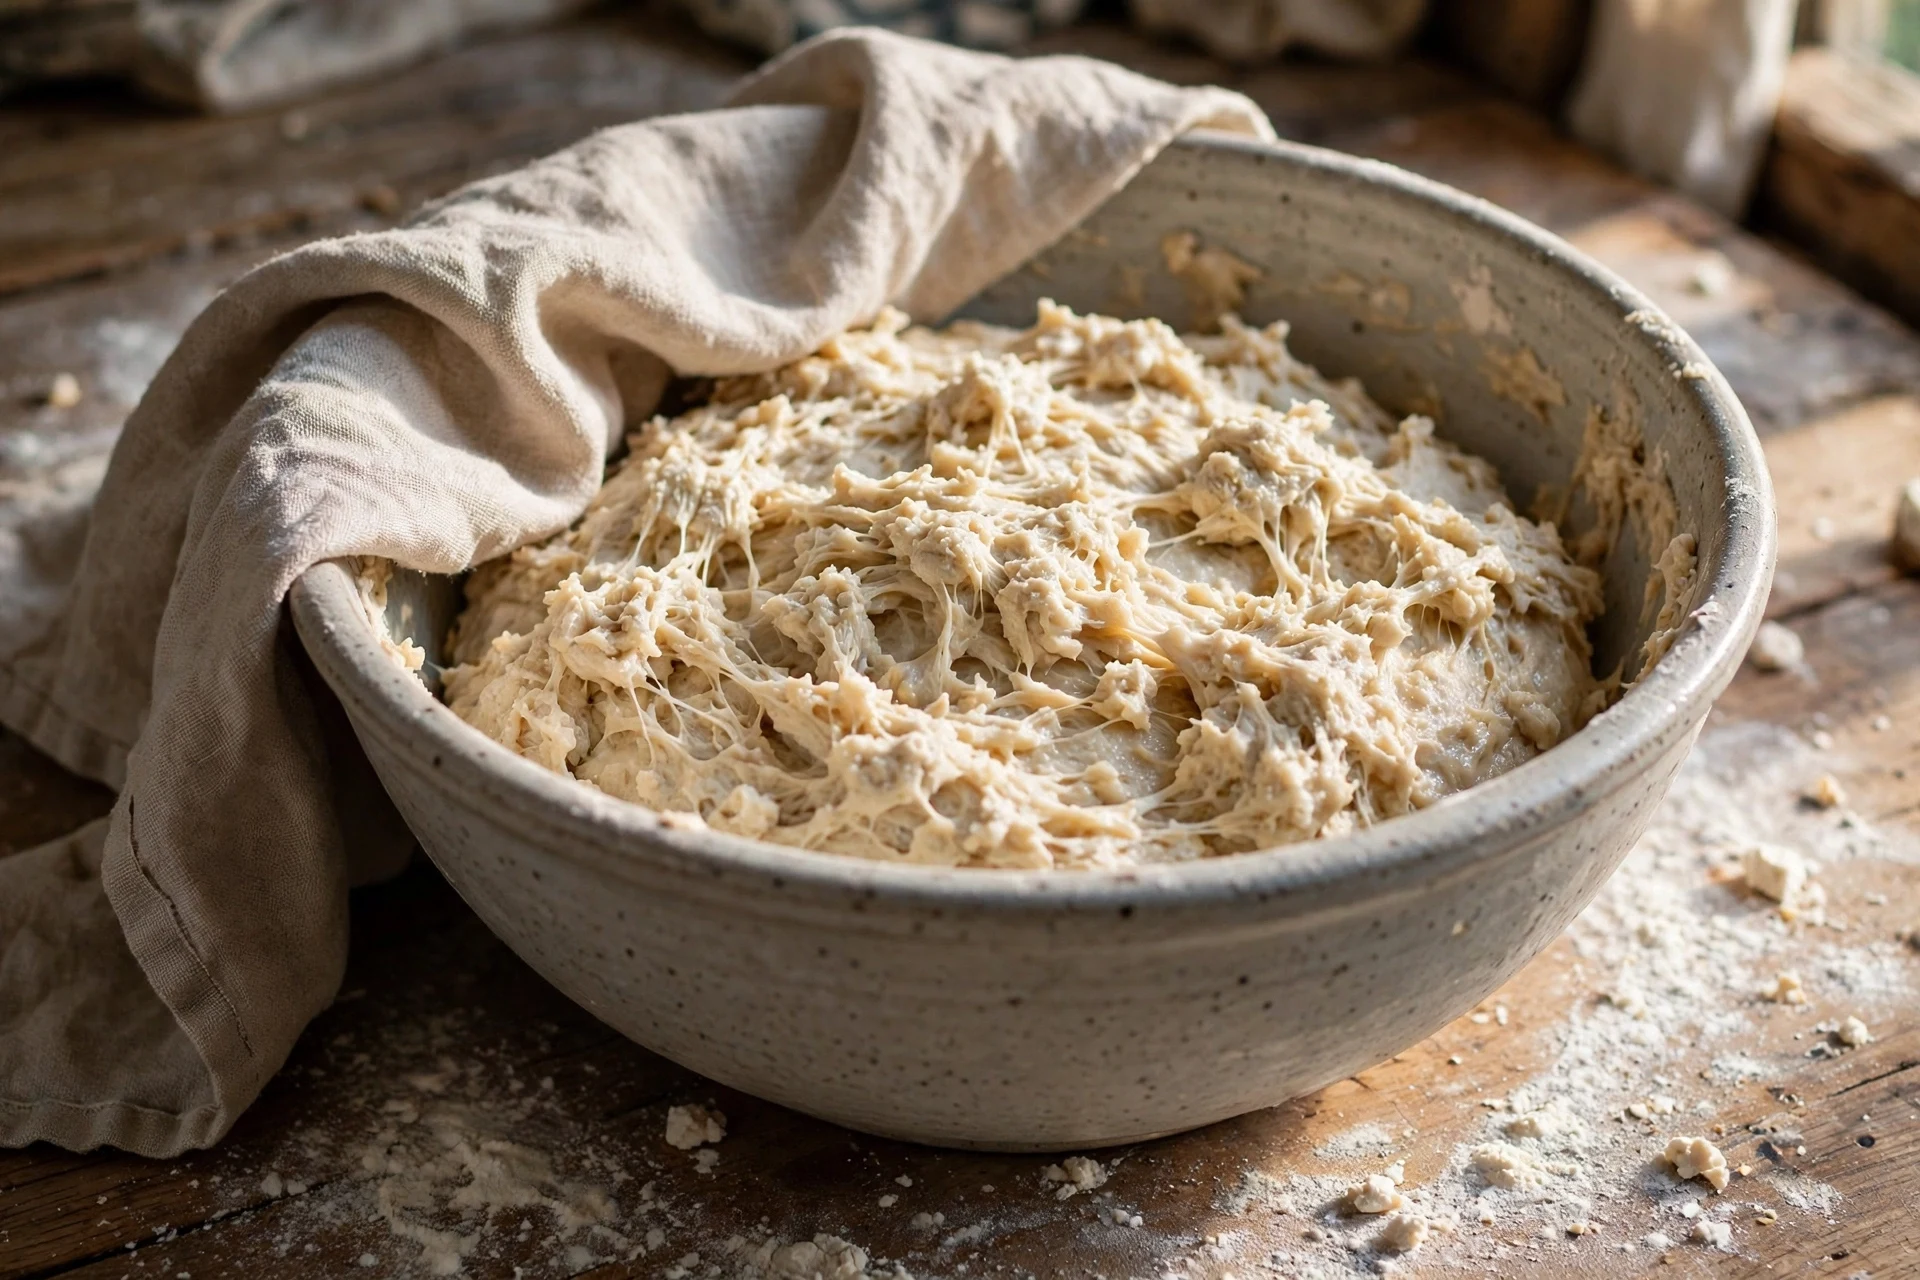
Put 500 grams of bread flour in a large bowl and add 350 grams of room-temperature water. Mix with your hands or a wooden spoon until no dry flour is left. Cover the bowl with a tea towel and let it rest for 30 minutes. This rest, called the autolyse, lets the flour soak up the water.
After the rest, add 100 grams of active starter and 10 grams of salt. Squeeze and fold the dough in the bowl until the starter and salt are mixed through. It will feel sticky. Wet your hands if it sticks too much.
Step 2: Stretch and Fold
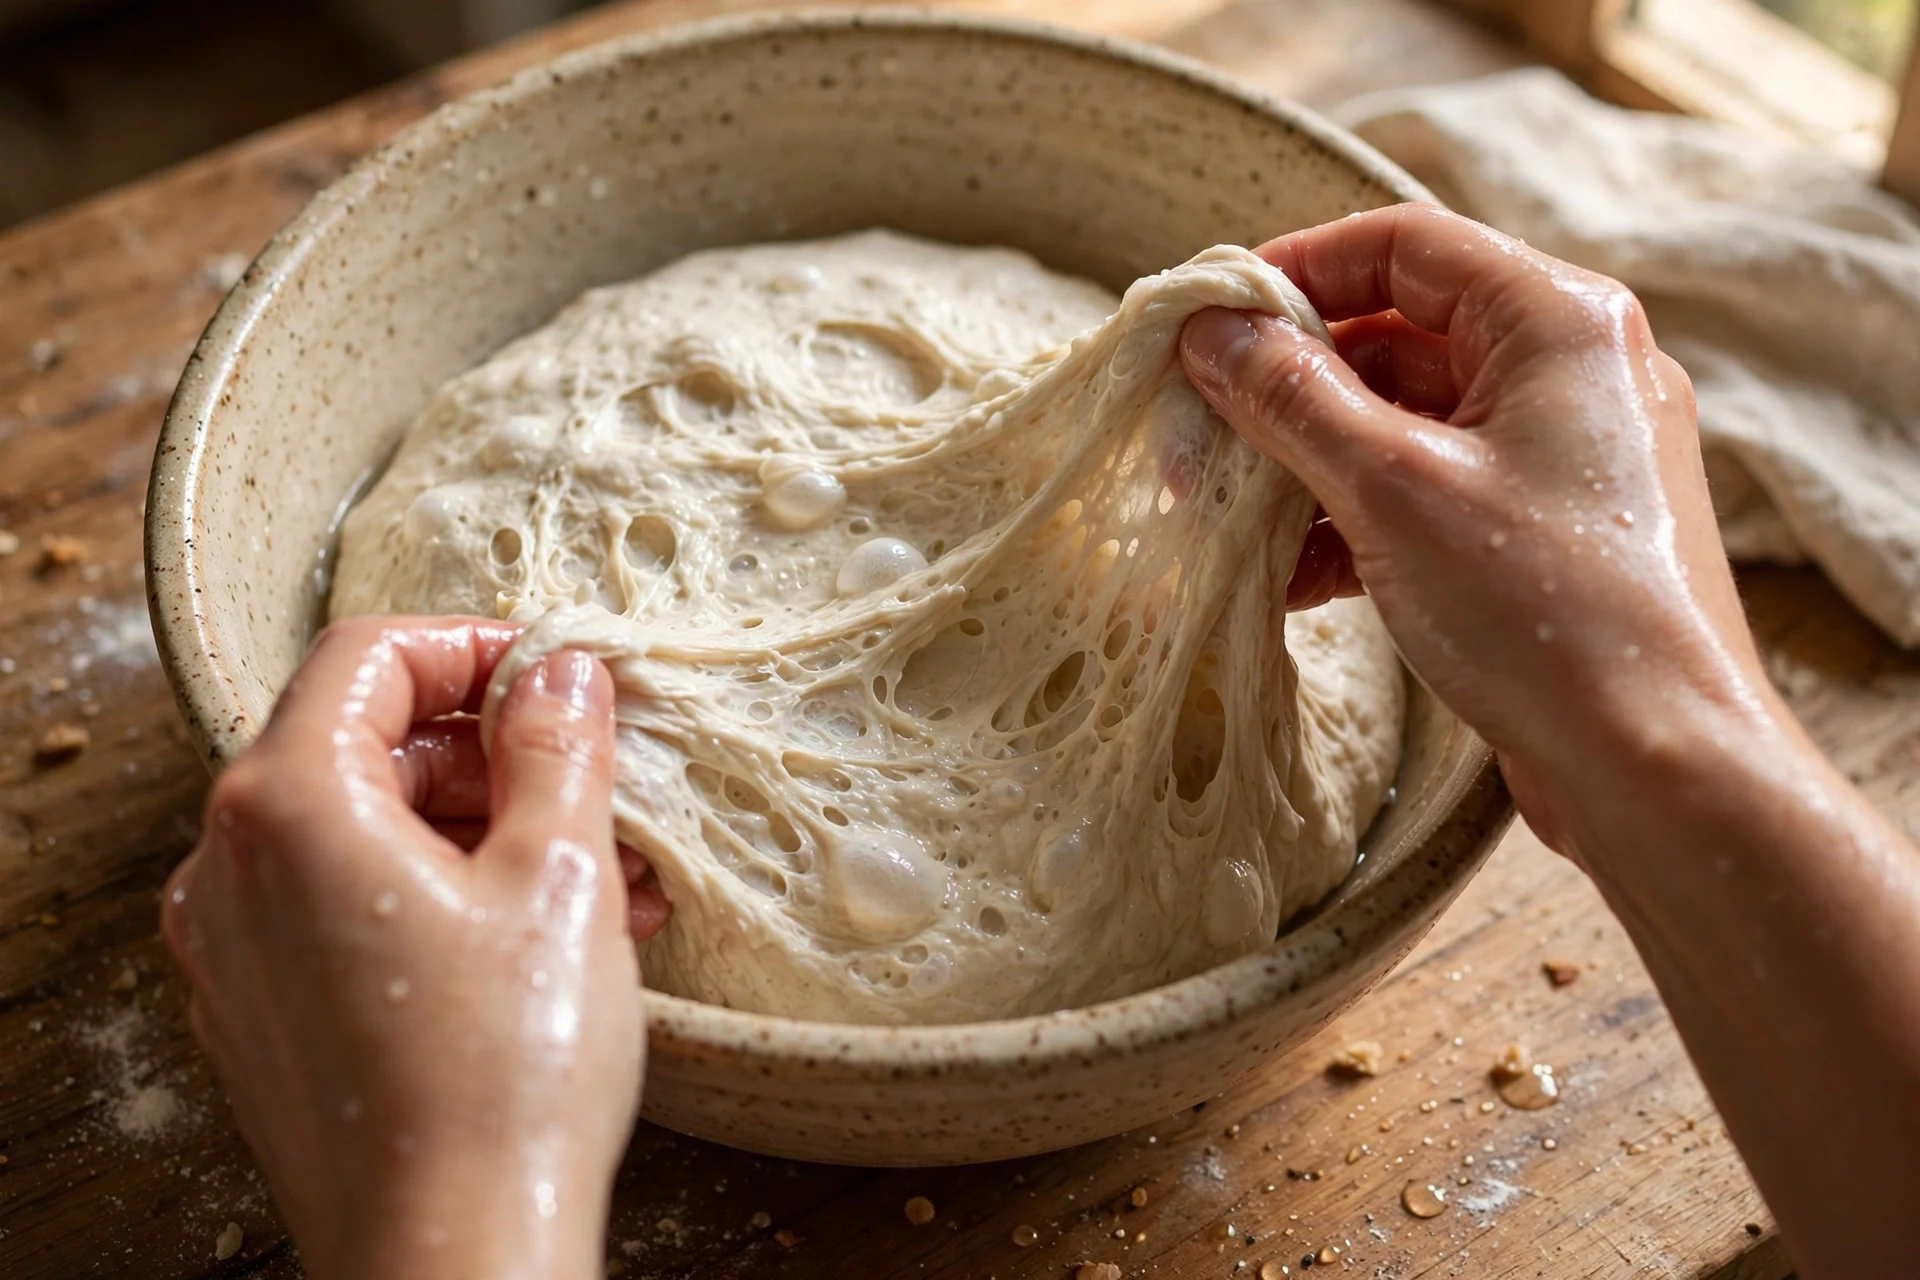
Now the dough needs strength, and you build it without kneading. With wet hands, grab one edge of the dough, pull it up gently, and fold it over the center. Turn the bowl a quarter turn and do it again. Do four folds in total — that is one set. Cover the bowl and wait 30 minutes, then do another set. Do four sets in the first two hours of bulk fermentation.
Each set makes the dough smoother and tighter, and by the fourth set it should hold its shape. If the dough tears when you pull it, stop pulling — let it rest and try again at the next set.
Step 3: Bulk Fermentation
After the folds, leave the dough alone to rise. This stage is called bulk fermentation, and it runs from the moment you add the starter until you shape the loaf. How long it takes depends on your kitchen. Warm dough moves fast; cool dough moves slow.
| Kitchen temperature | Bulk fermentation time |
|---|---|
| 65°F (18°C) | 7 to 8 hours |
| 70°F (21°C) | 5 to 6 hours |
| 75°F (24°C) | 4 to 5 hours |
| 80°F (27°C) | 3 to 4 hours |
Judge by the dough, not the clock. It is ready when it is about half as big again, the top is domed, you can see bubbles on the surface, and it wobbles like jelly when you shake the bowl gently.
Step 4: Shape the Loaf
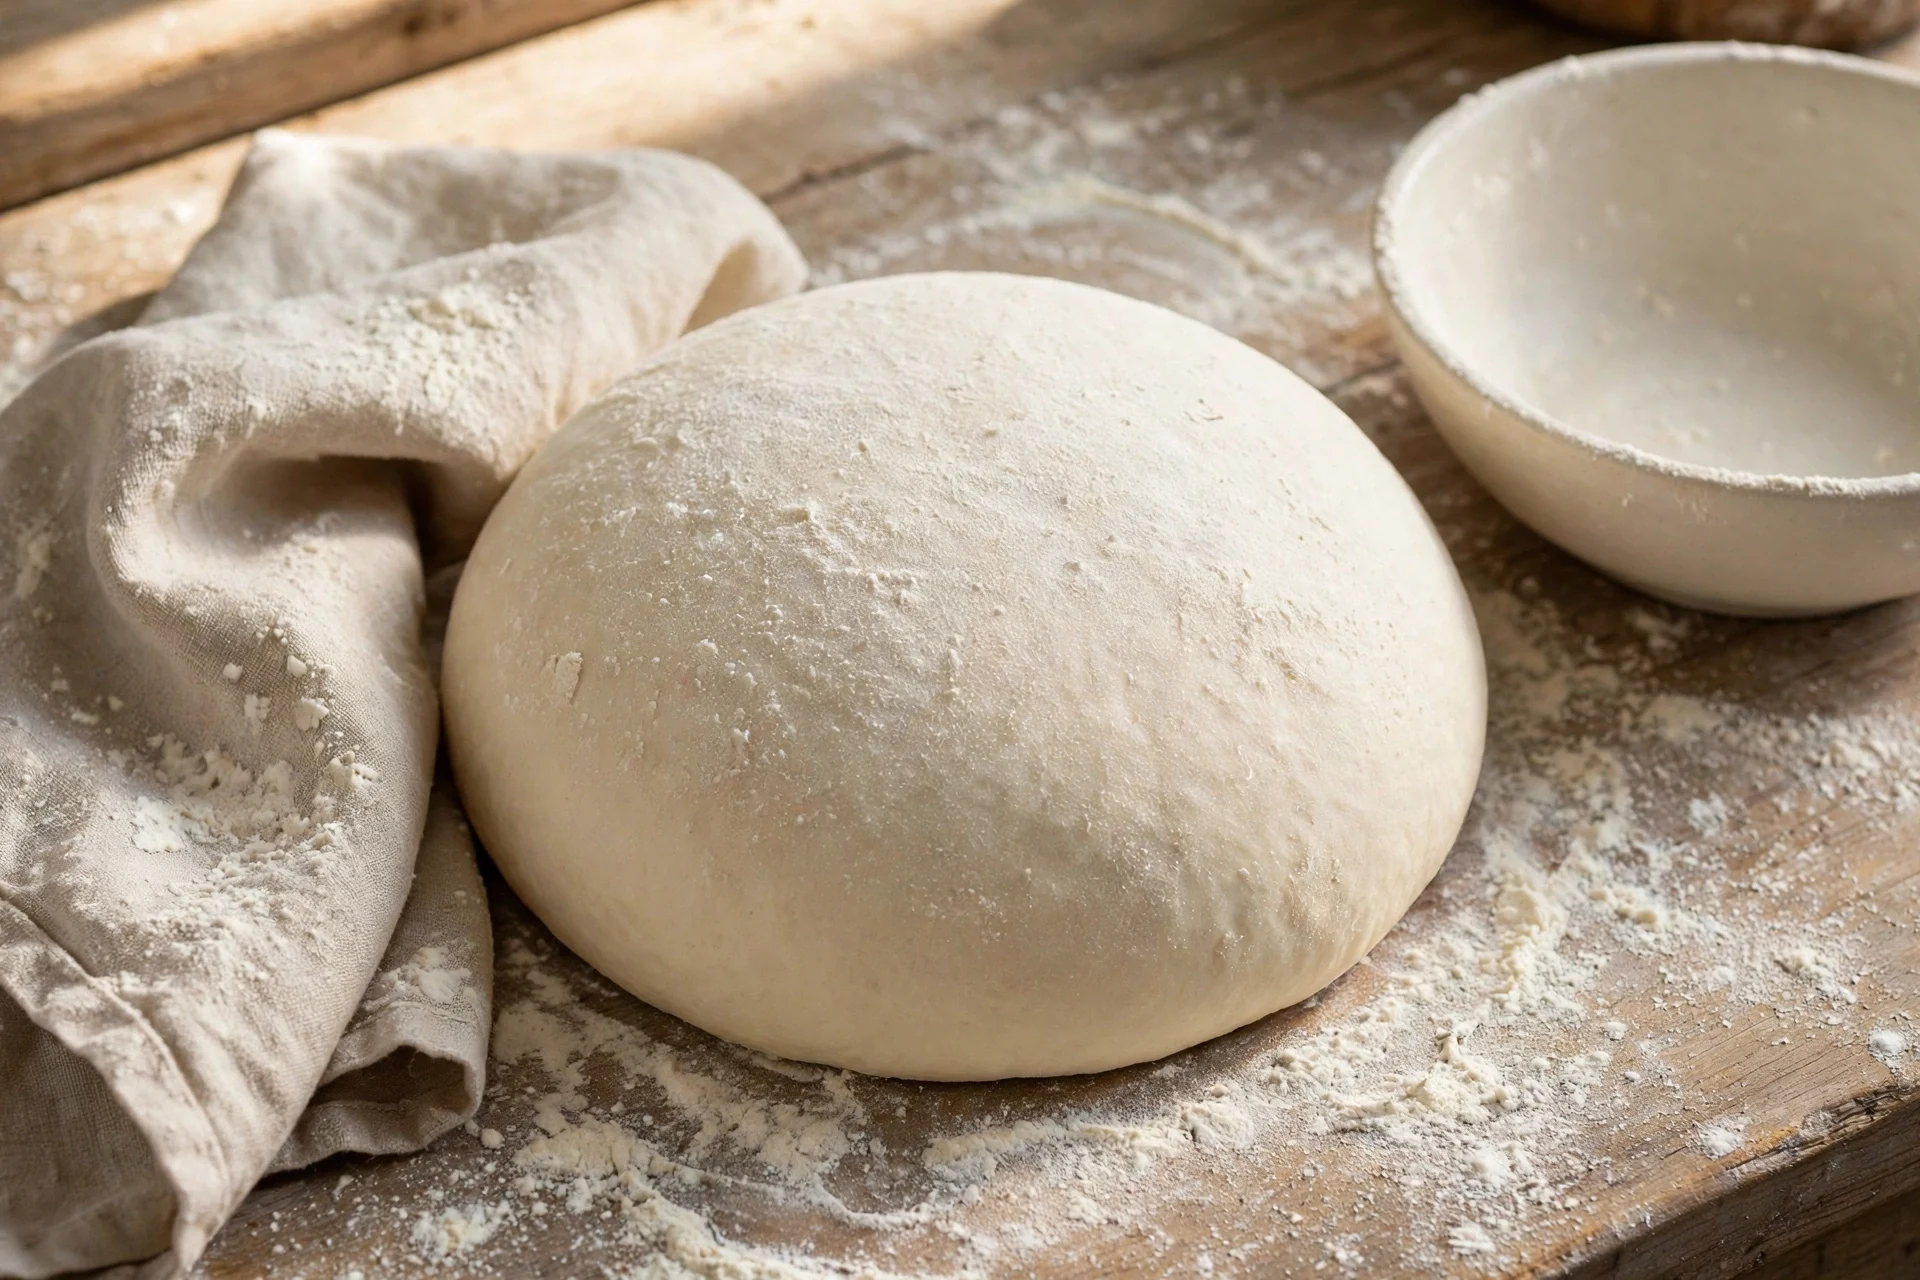
Tip the dough onto a lightly floured counter. It will be soft and a little sticky — that is normal. Gently press it into a rough rectangle, fold the sides in, then roll it up from the far side toward you. Turn it seam-side down and pull it toward you in small circles to build a tight skin.
Dust a bowl or proofing basket with flour, or line it with a floured tea towel. Place the loaf seam-side up inside. When you turn it out to bake, the seam will be underneath and the smooth top will face up, ready for scoring.
Step 5: Cold Proof Overnight
Cover the bowl with a tea towel or plastic wrap and put it in the fridge for 12 to 14 hours. The cold slows the yeast down so the flavor keeps building without the dough over-proofing. It also makes the loaf firmer, which means cleaner scoring and a better ear in the morning.
If you want bread the same day instead, skip the fridge. Leave the shaped loaf on the counter for 1 to 2 hours until it looks puffy and springs back slowly when you press it with a wet finger. Then go straight to scoring and baking.
Step 6: Score and Bake
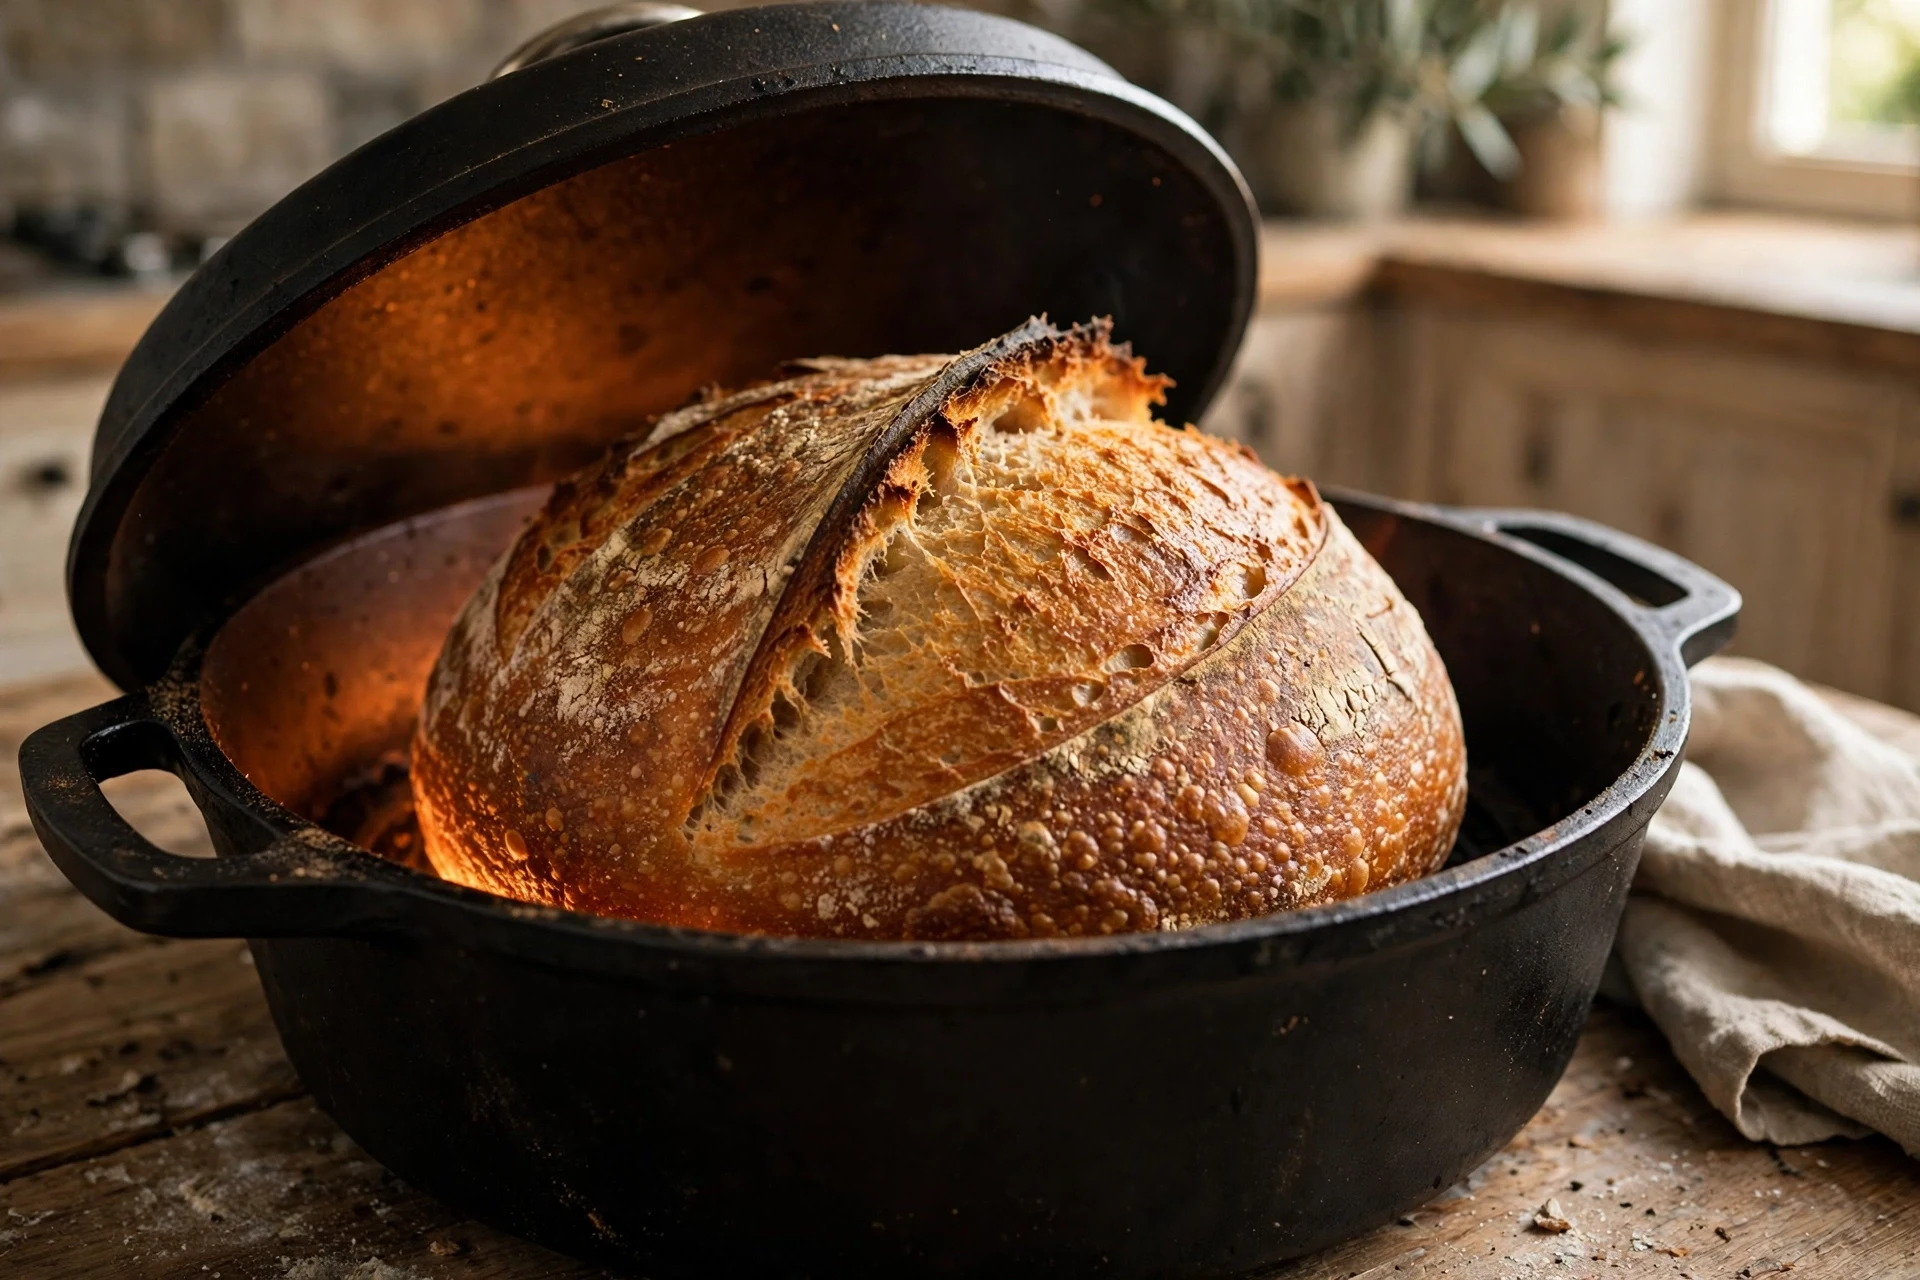
Put your Dutch oven, with the lid on, in the oven and heat it to 450°F (230°C). Let it heat for a full 45 to 60 minutes. While it heats, turn the cold loaf out onto a sheet of parchment paper.
Score the top with one confident slash, about 1/4 inch deep, held at a low angle. A sharp knife or razor blade works best — a dull knife will drag and tear. Lift the loaf, paper and all, into the hot pot, put the lid on, and bake for 30 minutes.
Take the lid off and bake 20 to 25 minutes more, until the crust is deep golden brown. The bread is done when the center reads 206 to 208°F (97°C) on a thermometer, or when the base sounds hollow when you tap it. No Dutch oven? Bake the loaf on a baking sheet with a tray of hot water on the rack below, at the same temperature and for the same time.
Move the loaf to a wire rack and let it cool for at least 1 hour before slicing — 2 hours is better.
Sourdough Bread Baking Timeline: A Two-Day Plan
Here is this sourdough bread recipe on a clock, using the same-day proof so the bread is out of the oven on Saturday.
| Time | What to do |
|---|---|
| Friday 8:00 pm | Feed the starter (equal weights flour and water) |
| Saturday 8:00 am | Float test — the starter should float |
| Saturday 9:00 am | Mix flour and water; rest 30 minutes (autolyse) |
| Saturday 9:30 am | Add starter and salt; first stretch and fold |
| Saturday 10:00 am–1:00 pm | Bulk fermentation; fold again at 10:00, 10:30, and 11:00 |
| Saturday 1:00 pm | Shape the loaf; place in a floured bowl |
| Saturday 1:30 pm | Final proof at room temperature, 1 to 2 hours |
| Saturday 3:00 pm | Preheat the oven to 450°F (230°C) with the Dutch oven inside |
| Saturday 3:30 pm | Score and bake: 30 minutes covered, 20 to 25 minutes uncovered |
| Saturday 4:30 pm | Bread is out of the oven; cool until about 6:00 pm, then slice |
In a cooler kitchen, push the whole Saturday plan back by a few hours and use the temperature table in Step 3 to adjust. If the float test fails on Saturday morning, feed the starter again and push the plan back by 4 hours.
Troubleshooting: Why Your Sourdough Bread Failed
Almost every first loaf has a flaw, and almost every flaw has a simple cause. If your sourdough bread recipe did not turn out, find your problem below and change one thing next time — changing everything at once makes it impossible to know what worked.
| Problem | Likely cause | Fix |
|---|---|---|
| Dense and gummy crumb | Under-proofed dough, or sliced while still warm | Let bulk fermentation run longer; cool 1 to 2 hours before slicing |
| Flat loaf that spreads | Over-proofed dough or loose shaping | Shorten bulk fermentation; shape tighter; proof in the fridge |
| No ear, little oven spring | Under-proofed loaf, dull blade, or oven not hot enough | Score with a sharp blade at a low angle; preheat the Dutch oven fully |
| Burnt bottom | Dutch oven too close to the lower heat | Move the rack up one notch; set a baking sheet under the pot |
| Too sour | Long, warm fermentation | Use the fridge for the cold proof; feed the starter on schedule |
A pale, soft crust usually means the lid stayed on too long or the oven runs cool. Give the loaf the full 20 to 25 minutes uncovered.
How to Store Sourdough Bread (and Freeze It)
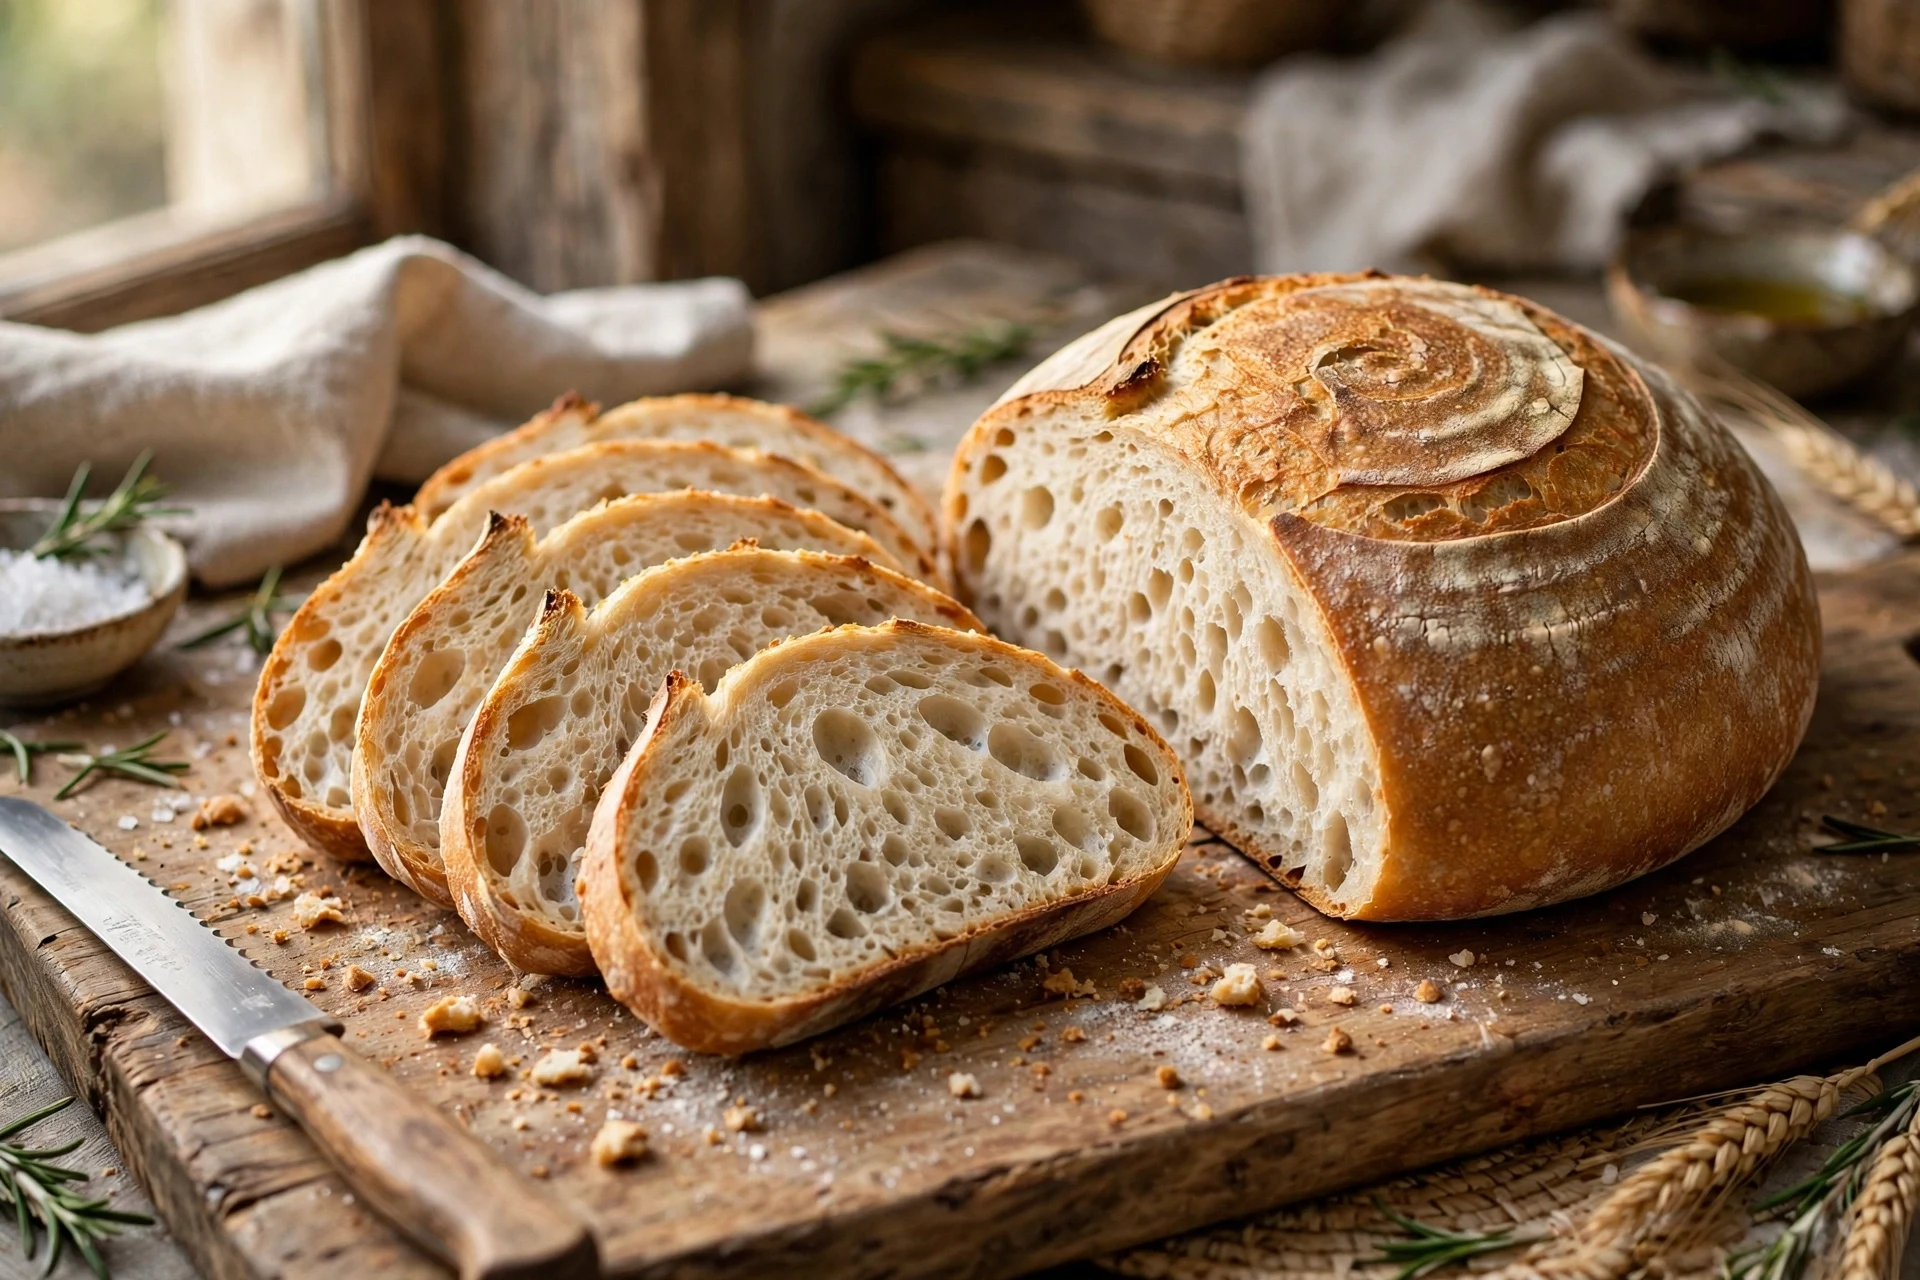
A baked loaf keeps well at room temperature for 2 to 3 days. Store it cut-side down on a cutting board, or in a paper bag or bread bag. Do not put it in the fridge — cold air dries bread out faster than room air.
For longer storage, slice the loaf first and freeze the slices in a freezer bag for up to 3 months. Toast slices straight from frozen — they come back crisp and warm. To refresh a whole loaf that has gone a little stale, sprinkle it lightly with water and bake it at 350°F (175°C) for about 10 minutes.
Sourdough also makes excellent toast, sandwiches, and breadcrumbs. Stale slices are perfect for panzanella or for frying in a little butter until golden — nothing needs to go to waste.
Sourdough Bread Recipe FAQs
Do I need a Dutch oven to make sourdough bread?
No. A Dutch oven gives the thickest crust, but a loaf tin or a baking sheet with a tray of hot water below works too. Use the same temperature and time, and check for 206 to 208°F (97°C) inside.
How do I know my sourdough starter is ready to bake with?
It should have doubled in size 4 to 8 hours after feeding, be full of bubbles, and float in a glass of water. If it sinks, feed it again and wait another hour or two before mixing your dough.
Why is my sourdough bread dense and gummy inside?
The two usual causes are under-proofing and slicing too soon. Let the dough finish bulk fermentation — it should look about half as big again and feel jiggly — and always cool the loaf for 1 to 2 hours before you cut it. Steam trapped in a hot loaf turns the crumb gummy.
How long does sourdough bread take from start to finish?
This sourdough bread recipe takes about two days from feeding the starter to slicing the loaf, but only around 25 minutes of that is hands-on work. The rest is waiting: bulk fermentation takes 3 to 8 hours, and the cold proof runs 12 to 14 hours overnight.
How should I store sourdough bread, and can I freeze it?
Keep it at room temperature, cut-side down, for 2 to 3 days. For longer storage, slice it and freeze the slices in a freezer bag for up to 3 months, then toast them straight from frozen. Avoid the fridge — it makes bread go stale faster.
That is the whole sourdough bread recipe: four ingredients, a little patience, and one hot oven. Your first loaf may not look like a bakery loaf, and that is fine — it will still taste like real sourdough, and the next one will be better. Once you have the method down, try the loaf sliced thick for breakfast — the sourdough toast ideas in our cozy fall breakfasts are a good place to start.